
What to Expect During a Kitchen Cabinet Refinishing Project
Most homeowners start a cabinet project by choosing a color. Color matters, but it is only one part of the process. Preparation, product selection, application technique, and working conditions decide how a finish looks and how long it lasts.
Going in without that knowledge leads to surprises. You may expect a factory-new look, lose kitchen access longer than planned, or accept a rushed process without noticing. This guide walks through what happens during a professional cabinet refinishing project, from the first evaluation to the final walkthrough. It also covers the realities many homeowners do not anticipate.
What a Professional Cabinet Refinishing Project Includes
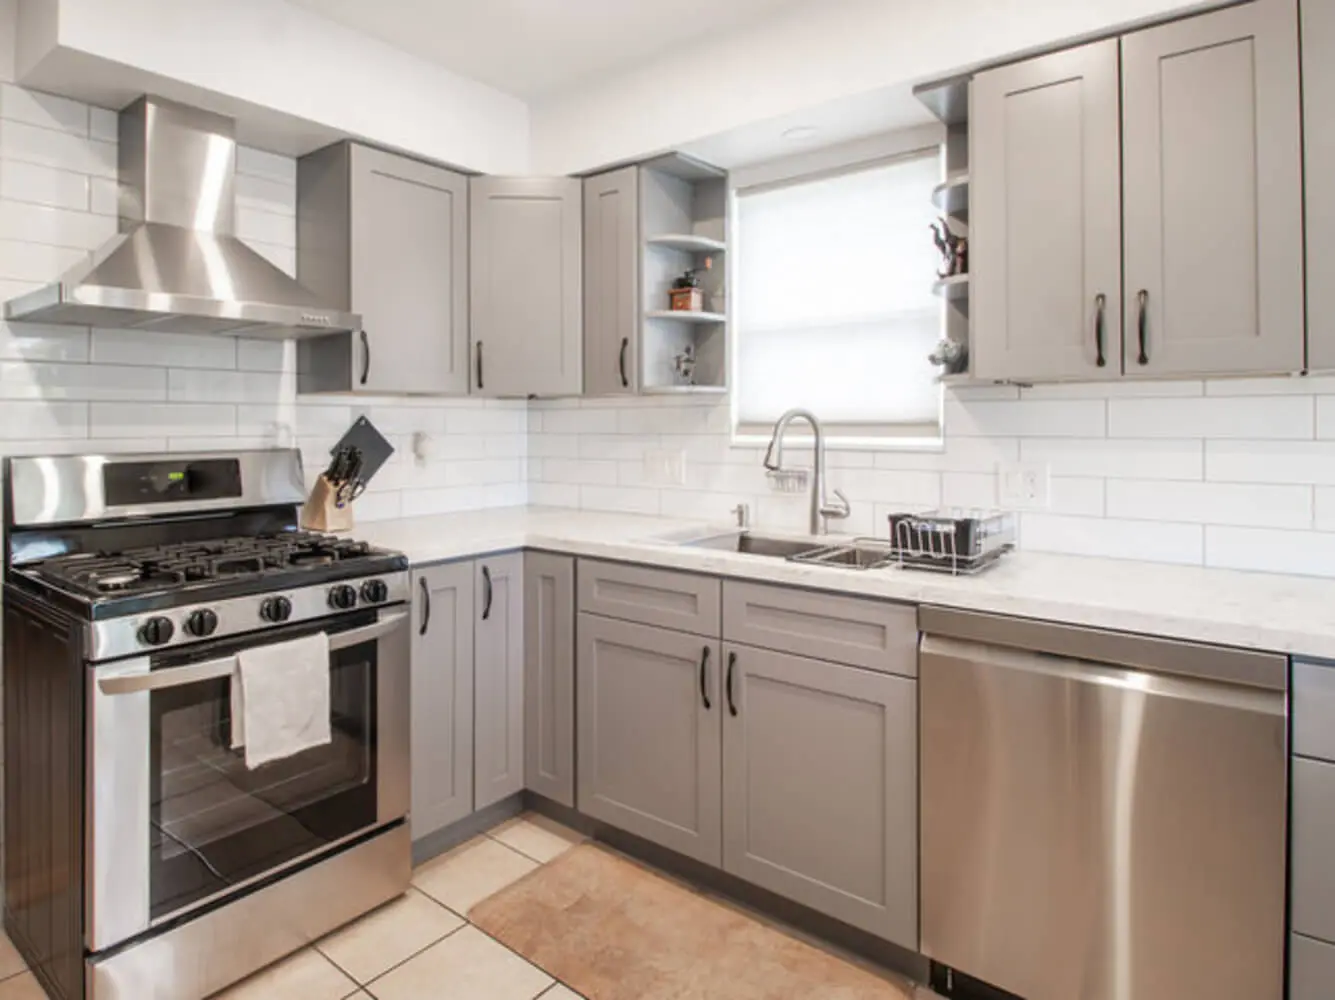
Refinishing keeps your existing cabinet boxes, doors, and drawer fronts and gives them a new painted or stained finish. The crew replaces nothing, so your layout stays the same.
A professional project covers far more than painting:
- Evaluation of your cabinet material and condition
- Cleaning and degreasing
- Sanding or other mechanical preparation
- Repair of minor imperfections when your scope includes it
- Priming and multiple coats of finish
- Drying, curing, and reinstallation
- A final walkthrough
Refinishing is a cosmetic upgrade, so it works best when your cabinet structure is sound. It cannot fix warped, swollen, or water-damaged parts. Reviewing the signs your cabinets qualify helps you check yours before anyone visits.
Before the First Coat: Your Assessment Visit and Kitchen Prep
We start every project by evaluating your cabinet material and its condition. Cabinets may be solid wood, MDF, plywood, veneer, laminate, or a mix. Each material takes a finish differently, so no single approach fits every kitchen.
Material can change what is possible. Say you want to restore natural wood, but some parts use thin veneers or manufactured materials. Sanding those parts back to natural wood may not be practical. Painting often gives a more attractive and reliable result.
A professional should evaluate your cabinets before recommending a method. Be cautious of any contractor who simply agrees to whatever finish you first request.
During the visit, we also look for problems that change the plan:
- Loose hinges or sagging doors
- Worn edges and chipped corners
- Heavy grease buildup near the stove
- Damage that refinishing cannot repair
You choose your color and finish at this visit too. Test samples on your actual cabinets, in your kitchen’s light. A color that looks perfect in a showroom can read very differently over your sink at 6 p.m. Satin and semi-gloss also wipe clean more easily than flat finishes, which suits a working kitchen.
Ask for a written scope before work begins. It should name the coating system, the number of coats, and the expected timeline.
Your own prep takes about an hour:
- Empty the cabinets and drawers
- Clear the counters
- Set up a temporary station with a coffee maker and microwave in another room
Expect the kitchen to look worse before it looks better. That is normal, and it means the project is moving into the work that decides the result.
What to Expect During a Kitchen Cabinet Refinishing Project: The Five Stages
Every project follows the same five stages in the same order. Each stage depends on the one before it, so a rushed stage shows up in the final finish. Exact days per stage vary with kitchen size and crew workflow, but the sequence never changes.
Stage 1: Removal and Protection
We start by removing doors, drawer fronts, and applicable hardware. We label every piece so it returns to its original position.
Next, we protect your countertops, floors, appliances, backsplashes, and nearby surfaces. We also plan for dust containment and ventilation, and we consider how the work will affect your daily routine.
Depending on the project, doors and drawer fronts may move to a designated work area for finishing. The cabinet frames stay in place. Protecting your home is part of the job, not an extra.
Stage 2: Surface Preparation
Preparation is the foundation of a professional finish. Kitchen cabinets collect cooking oils, grease, moisture, and fingerprints. Even cabinets that look clean can hold residue that blocks adhesion.
Our preparation includes:
- Thorough cleaning and degreasing
- Sanding or other mechanical preparation to promote adhesion
- Repair of minor surface imperfections when your scope includes it
Sanding alone does not guarantee adhesion. The surface must be clean, sound, and compatible with the primer and coating system. Skipped steps explain why painted cabinets chip so often. A beautiful finish begins long before the final color goes on.
Stage 3: Priming and Coating Application
Primer goes on first. We choose a bonding or stain-blocking primer based on the existing substrate, because wood, laminate, and MDF behave differently.
Next comes the coating system. Many homeowners assume any premium interior paint works on cabinets. It does not. Cabinets take frequent handling, cleaning, and everyday wear, so they need coatings built for that.
At Hömm CPS, we select products by cabinet substrate, existing finish, desired look, and application needs. Sherwin-Williams Emerald Urethane Trim Enamel is one product we may consider for the right cabinet application. Even a premium coating still needs proper preparation and a compatible primer. Surface prep, primer, and topcoat must work together as one system.
Application technique matters too. Doors, drawer fronts, edges, profiles, and frames each present different challenges:
- Spraying may give a smooth, uniform look on some pieces
- Other components may need different application techniques
- Our goal is consistent coverage with minimal visible marks, excess buildup, and drips
Stage 4: Drying, Recoating, and Curing
Many homeowners assume cabinets that feel dry are ready for normal use. They are not. Three different states matter:
- Dry to the touch: the coating no longer feels wet
- Ready to recoat: the next layer can safely go on
- Fully cured: the coating has developed its final hardness and wear resistance
We allow proper drying time between coats, because adding a coat too early can compromise the finish. We never rush this stage to speed up a schedule.
Full curing can take considerably longer than drying. The time depends on the product, the working conditions, and the coating thickness. We cannot promise one universal curing period, because manufacturer specifications vary by product. Summer humidity in the DC area can also stretch drying and recoat windows.
Stage 5: Final Inspection and Reinstallation
The final stage involves more than rehanging doors. We evaluate the finish for consistency and inspect accessible surfaces for visible imperfections. Then we complete touch-ups and reinstall your doors, drawer fronts, and hardware.
We also check door alignment and function as appropriate to the agreed scope. The project ends with a final walkthrough. You inspect the work, point out anything you want corrected, and receive care instructions for your specific coating.
How Long a Cabinet Refinishing Project Takes From Start to Finish
Published timelines range from a few days to several weeks. The gap comes from what each source counts. Some count only on-site days. Others add finishing time away from the kitchen or the full cure.
A typical kitchen takes about three to seven days from start to finish with a professional crew. Here is one example of how a five-day project might unfold:
- Day 1: protection, removal, degreasing, and sanding
- Day 2: repairs, priming, and prep for topcoats
- Days 3 and 4: topcoats, with drying time between layers
- Day 5: reinstallation, touch-ups, and the walkthrough
Several factors can change that number:
- Kitchen size and the number of doors and drawers
- The condition of your existing finish
- The coating system and its drying windows
- The setup for finishing doors and drawer fronts
Ask every contractor which number they are quoting. A short on-site estimate and a full project timeline are two different answers.
What to Realistically Expect From Painted Cabinets
Professional refinishing can transform a kitchen. Still, painting existing cabinets does not make them brand new. A professionally painted finish will not automatically match a factory finish either. Application methods, cabinet condition, and the coating system all shape the final look.
Setting honest expectations before work starts prevents disappointment. Here is what may still show after painting:
- Existing wood grain may remain visible, depending on the material and finish system
- Previous damage may need additional repairs
- Natural wood movement can affect painted joints over time
- Existing gaps, seams, and construction details may stay visible
- Worn hinges, hardware, and cabinet boxes can affect the finished kitchen
Our job is not to promise a perfect result. It is to explain what your existing cabinets can realistically achieve.
After the Crew Leaves: Caring for New Cabinets and Judging the Finish
Newly painted cabinets need gentle care while the coating cures. During that period:
- Avoid aggressive cleaning
- Avoid bumps and unnecessary impacts
- Do not leave objects in prolonged contact with the finish
Once the finish is ready, mild soap and warm water handle everyday cleaning. Follow the care instructions from your final walkthrough, since they match your specific coating.
Check the finish in good light. Hold a flashlight at a low angle across each door. That raking light reveals drips, dust specks, and uneven sheen that normal light hides. A professional finish should show:
- An even sheen from every angle
- A smooth feel to the touch
- Minimal visible application marks
- Doors and drawers that close without rubbing
When Refinishing Is a Smart Investment
Many homeowners assume a kitchen update means replacing every cabinet. When your cabinets are structurally sound and work properly, professional painting delivers a major visual change. It avoids the cost and disruption of replacement. That can make refinishing a budget-friendly kitchen upgrade.
Still, base the decision on your cabinets’ condition and construction, not on savings alone. Refinishing also pairs well with new countertops, backsplashes, flooring, lighting, and hardware. We have worked on kitchens where painting the existing cabinets helped tie the whole renovation together.
At Hömm CPS, we believe lasting results come from a defined process. We evaluate your surfaces, recommend the right materials, prepare thoroughly, apply coatings correctly, and inspect the finished work. You are not just buying a new cabinet color. You are investing in professional workmanship, informed recommendations, and a structured approach built for lasting value.
If you want to see how this process applies to your kitchen, we can help. That same approach guides every cabinet refinishing service project we take on. Contact our team to schedule a consultation and get a quote for your cabinets.