Cabinet Refinishing: A Budget-Friendly Kitchen Upgrade for Fall
As the leaves change color and the air turns crisp, the arrival of fall often brings a desire for change within our homes. If you’re looking to give your kitchen a fresh, new look this autumn without breaking the bank, consider cabinet refinishing. This budget-friendly upgrade can transform your kitchen into a cozy and inviting space where you’ll love spending time cooking, baking, and hosting family gatherings. In this blog post, we’ll explore the benefits of cabinet refinishing and provide you with the steps to achieve a stunning kitchen makeover.

The Benefits of Cabinet Refinishing
- Cost-Effective Makeover: Cabinet refinishing is a cost-effective alternative to a full kitchen remodel. It allows you to achieve a significant transformation without the high expenses of replacing cabinets and countertops.
- Sustainability: By choosing to refinish your existing cabinets, you contribute to a more sustainable home improvement project. You reduce waste by repurposing your cabinets and avoid the environmental impact of manufacturing and disposing of new ones.
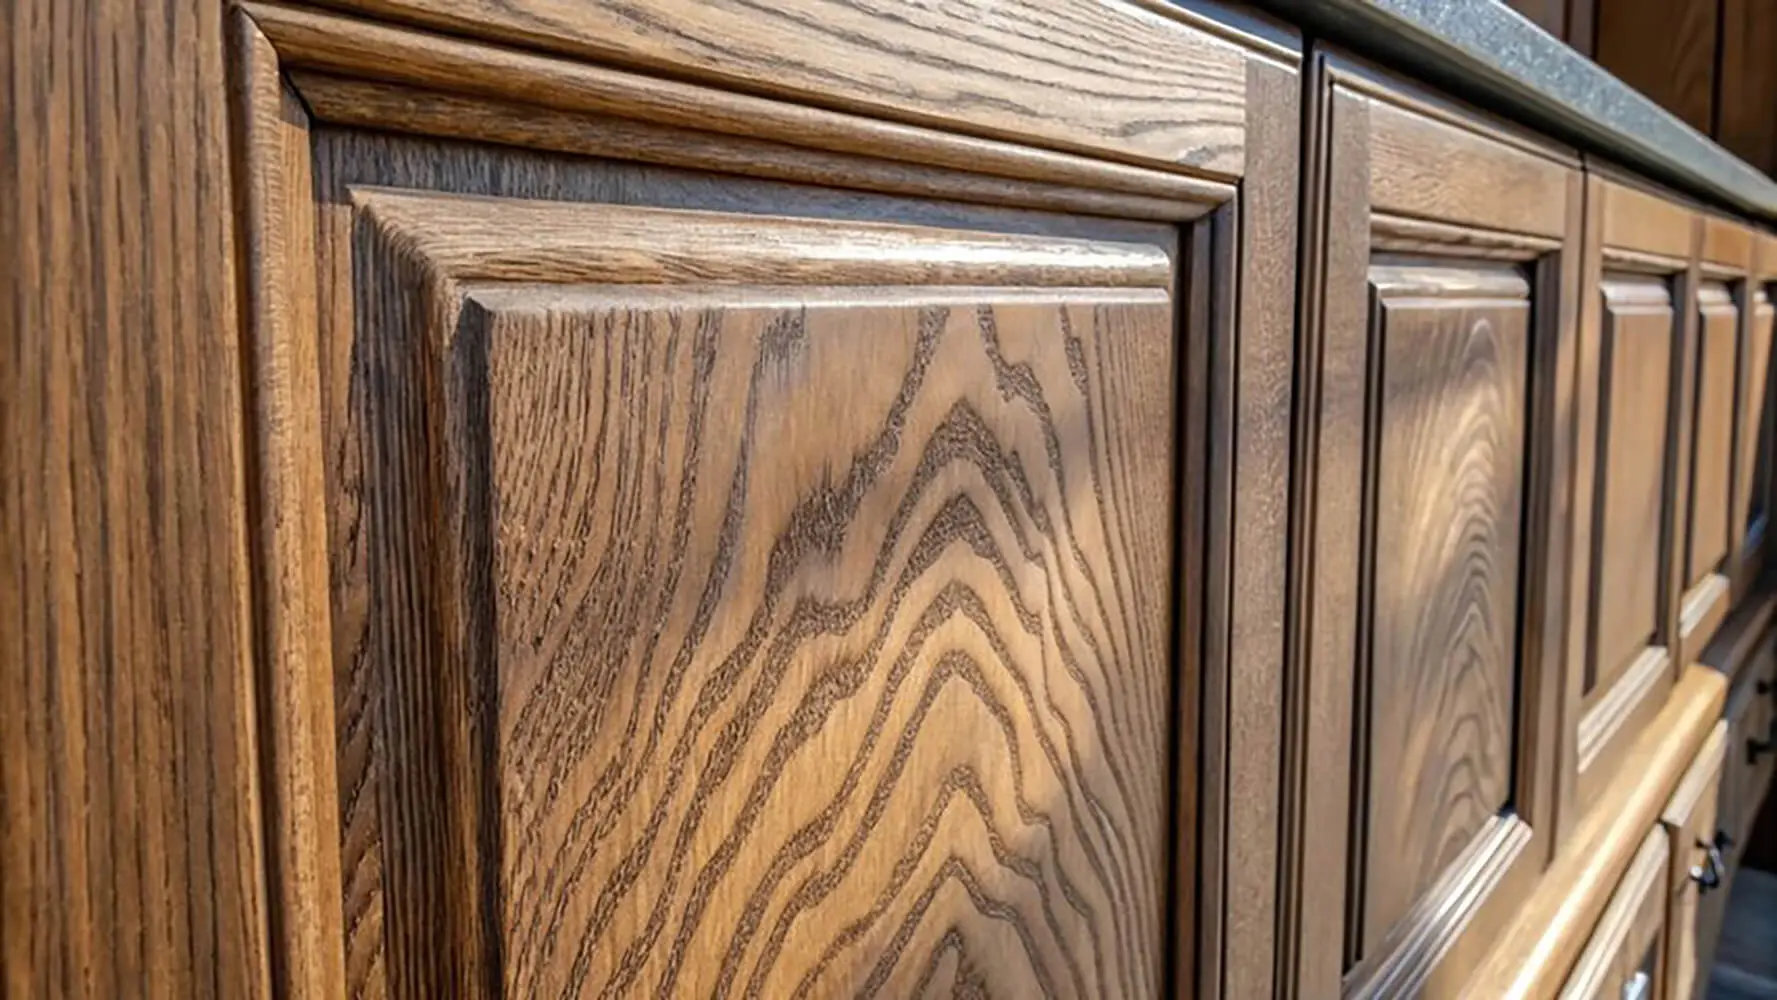
- Customization: Cabinet refinishing offers endless possibilities for customization. You can choose from a wide range of paint colors, stains, and finishes to match your preferred aesthetic, whether it’s rustic, modern, or classic.
- Faster Turnaround: Cabinet refinishing projects typically have shorter turnaround times compared to full kitchen remodels. You’ll be able to enjoy your updated kitchen sooner, making it perfect for fall gatherings and holiday celebrations.
The Step-by-Step Guide to Cabinet Refinishing
- Prepare the Area
Start by removing all items from your cabinets and clearing the countertops. This will create a clean and safe workspace.
Next, label each cabinet door and drawer with a removable marker or painter’s tape to ensure they go back in their original locations.
- Clean the Cabinets
Thoroughly clean the cabinet doors, drawers, and frames using a mixture of warm water and mild dish soap. Remove any grease, dirt, or residue to ensure proper paint or stain adhesion.
- Sand the Surfaces
Sand the cabinet surfaces with fine-grit sandpaper (usually around 220-grit). This step helps remove the existing finish and creates a slightly rough surface for the new paint or stain to adhere to.
- Apply Primer
Apply a high-quality primer to the cabinet doors, drawers, and frames. Primer ensures that the paint or stain adheres evenly and provides a smooth finish.
- Paint or Stain
Once the primer is dry, it’s time to paint or stain your cabinets. Use a paintbrush or a paint sprayer for even coverage. You may need to apply multiple coats for a flawless finish.
- Seal and Protect
After the paint or stain has dried completely, apply a clear topcoat or sealer. This step protects your cabinets from daily wear and tear, ensuring long-lasting beauty.
- Reassemble
Once everything is dry and cured, reassemble your cabinets, making sure each door and drawer is back in its designated spot.
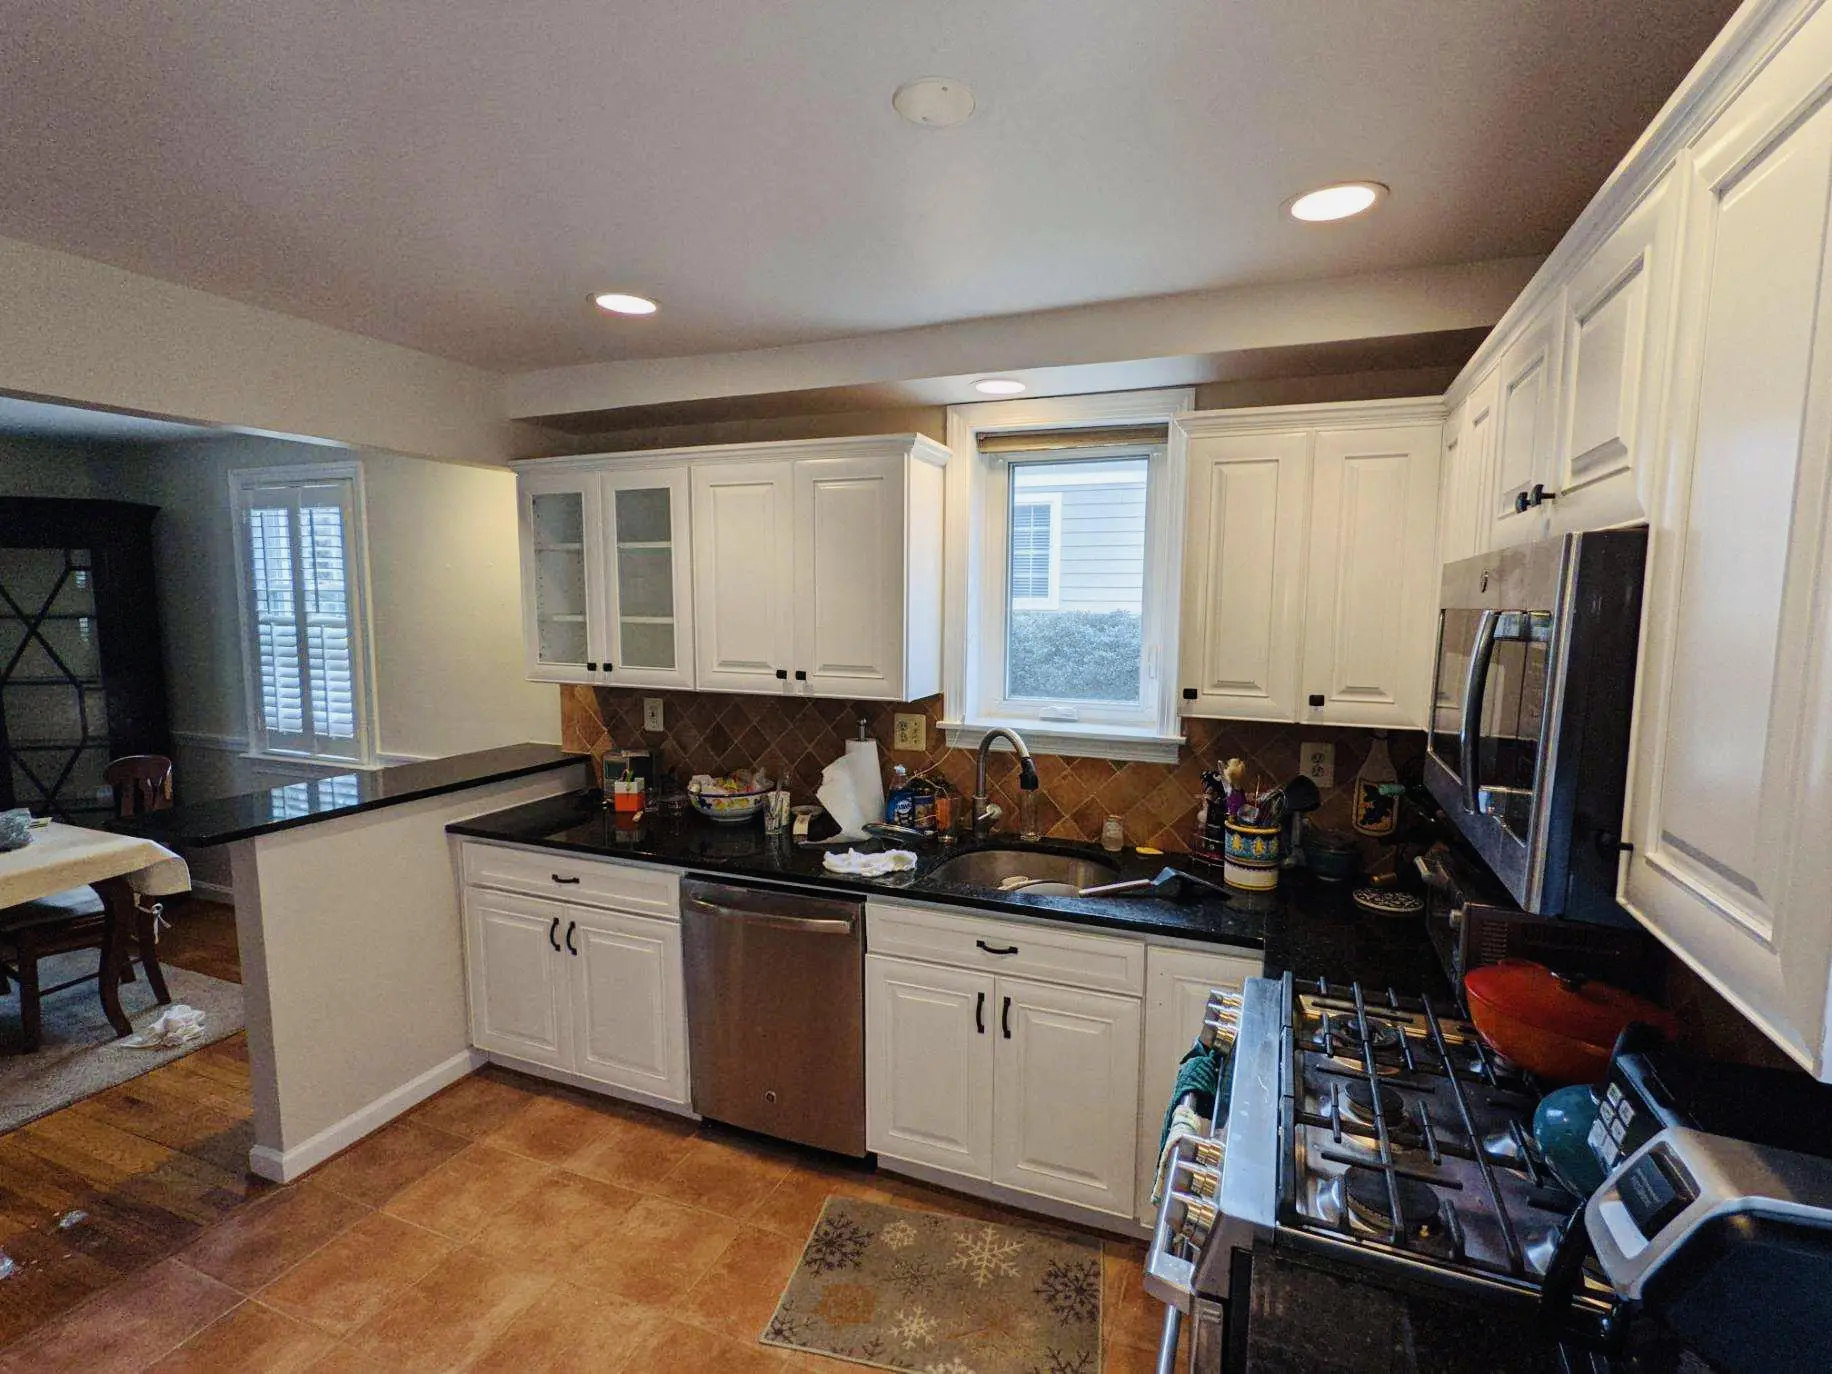
- Enjoy Your Upgraded Kitchen
Step back and admire your newly refurbished kitchen. The refreshed cabinets will breathe new life into your space, creating a warm and inviting atmosphere perfect for fall.
Cabinet refinishing is an excellent way to update your kitchen for the fall season without breaking your budget. With the benefits of cost-effectiveness, sustainability, customization, and a quicker turnaround time, it’s a home improvement project that delivers remarkable results. So, roll up your sleeves, gather your supplies, and get ready to enjoy a cozy, upgraded kitchen just in time for autumn.
For more information on the services we provide or to discuss your requirements in more detail, contact a member of the team at Homm CPS today.