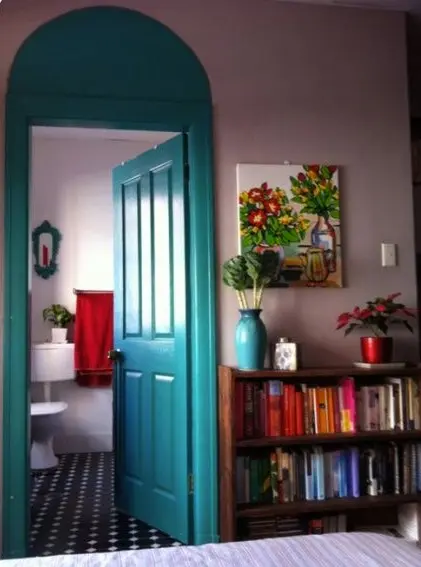
The Fastest Way to Paint All of Your Interior Doors
First things first, we don’t usually recommend rushing interior painting jobs. Quite the opposite, as taking your time holds the key to a flawless finish to be proud of.
But there are instances where taking something of a ‘production line’ approach to painting can both speed up and simplify the project. An example of which is painting interior doors, which can be a great project to tackle during the winter.
If the weather is on your side, you could remove all of your interior doors, take them outside, and handle the whole thing there. If things are somewhat foreboding outside, you can paint them in the biggest room of your home (having first removed or covered anything you don’t want to get paint on).
Either way, the fastest way to paint all of your interior doors at the same time is as follows:
- Prepare Each Door
With all interior painting jobs, preparation paves the way for fabulous results. Hence, the first thing you need to do is prepare each of the doors you intend to paint.
Carefully take your doors off their hinges one at a time, and bring them into the room where you intend to work on them. A garage or basement is best, but anywhere else is fine if sufficiently protected. Lay drop cloths and ensure there’s good ventilation, before getting to work removing the hardware from the doors.
Take off the handles, remove the locking mechanisms, and basically take the doors back to their bare bones. At this point, take the time to take note of any cracks, holes, chips or dents you’d like to repair.
- Sand and Repair
Before taking to your doors with some sandpaper, use some sandable filler to make any repairs necessary. Give the filler the appropriate time to dry, before giving the surface in its entirety a good sand. You’re not looking to strip the paint right down to the bare wood, but instead create a slightly rough surface for the paint to adhere to.
That said, any existing paint on the surface of the door that isn’t in particularly bad condition should indeed be removed. If it is necessary to strip things down to the bare wood, consider using power tools or chemical stripper (and all the necessary PPE to keep yourself safe).
- Prime and Paint
With the sanding complete, you can now give the surface of your doors a good wipe with a clean cloth. It’s essential to get rid of all residual dust and debris, which would otherwise make it impossible to achieve a flawless finish.
When you are satisfied that the surface is ready to paint, you can move on to the most satisfying part of the project…the painting!
If you are painting your doors a similar color to their existing color, you can begin painting them right away. But if you are changing their color in any way, it’s advisable to first apply a layer of primer. This will ensure the full effect of the new color shines through.
Paint slowly and carefully, with the aim of applying at least two thin and even coats. Brushes, pads, rollers and even spray guns can all be used to paint interior doors, so it’s up to you which way you go. Give the first coat plenty of time to dry (as indicated by the paint/primer manufacturer), before getting to work on the next coat.
- Reassemble and Rehang
After which, all you need to do is give your doors plenty of time to dry, before reattaching the hardware, and hanging them back in place.
Just be mindful of the fact that if the paint is still tacky when you rehang your doors, they could effectively glue themselves shut in the meantime…which isn’t a good thing!
Do I Have to Remove My Doors?
Last up, the short answer is no – you do not necessarily need to remove your doors to paint them. Painting doors in a vertical position is perfectly possible, just in the same way you can paint a vertical wall.
For more information on the services we provide or to discuss your requirements in more detail, contact a member of the team at Homm CPS today.