Peeling Paint? Six Steps to a Flawless Finish
There’s little more disappointing than watching a previously pristine paint job flake and peel before your eyes. Whether you painted your interiors yourself or hired help, you’re still watching the home you love literally fall apart.
Not to any dramatic extent, but still…annoying to say the least.
Cracking and peeling paint is one of the most common problems we encounter at Homm CPS. More often than not, it is a problem caused by inconsistencies or issues with DIY painting processes. From poor preparation to damage to surfaces to issues with humidity and moisture, there are many reasons why paint can flake and peel before its time.
Most of which are entirely avoidable, through careful and strategic interior painting.
Still, we’re assuming for the time being that this particular ship has sailed. If your paint is already flaking and peeling, hindsight isn’t going to help. Instead, you’ll want to know how to tackle the issue and restore the sparkle to your interiors.
From the experts at Homm CPS, here’s a brief overview of the six primary steps involved in tackling peeling paint and achieving a flawless finish:
Step One. Identify the Issue
Prior to getting started, the importance of identifying the reason for the problem cannot be overstated. This is because if it is left unaddressed, you could end up with the same issue again, wasting your time, effort and money. Humidity is one of the most common causes of peeling paint – moisture creeping its way into the surface and affecting its ability to adhere to the material. It could also be that too many layers of paint have been smothered on top of each other, or that the surface material wasn’t suitably primed. Identifying the issue early on will help prevent history from repeating itself.
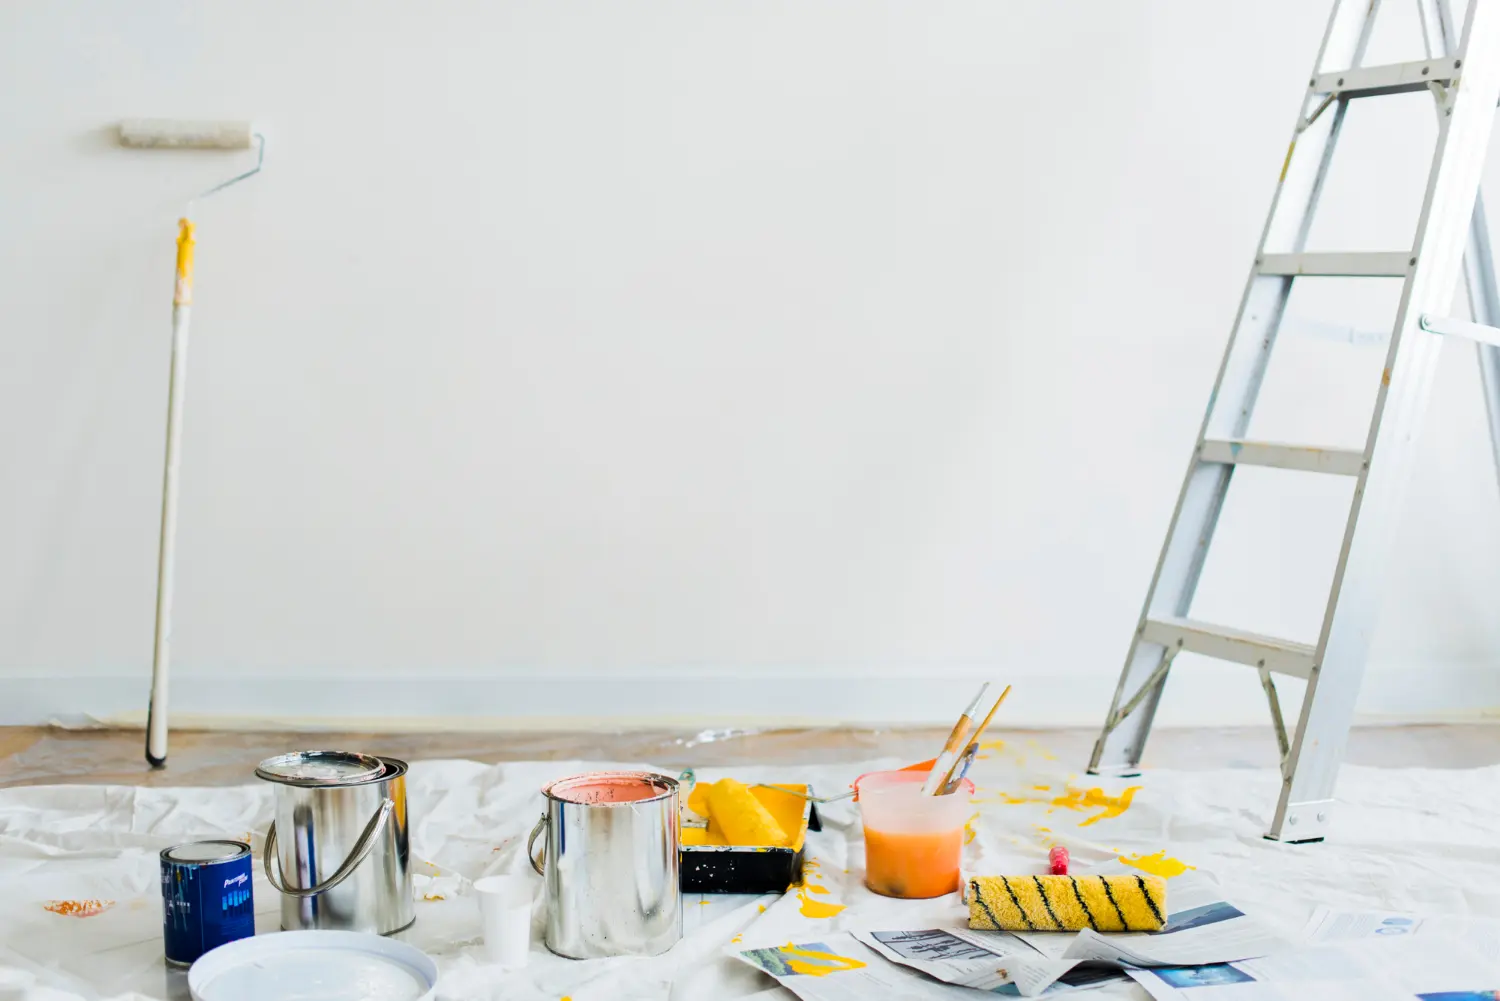
Step Two. Prepare the Workspace
Irrespective of whether you’re tackling a few square feet or an entire room, you need to adequately prepare the workspace. This means covering each and every inch with protective sheets, removing anything that isn’t nailed down and protecting yourself with quality PPE. You can rest assured that no matter how careful you are, you’re going to get paint all over the place. Hence, you need to take things seriously where protective covers are concerned.
Step Three. Scrape and Scrub
Now for the fun part – grab yourself a paint scraper and scrape as much of the peeling paint as you can. If it gets too tricky to scrape off, use a wire brush or specialist scrubber to remove it. The idea being that you start to create a somewhat smooth and even surface to work with, ensuring you get rid of every last bit of cracking and peeling paint. Under no circumstances should you even consider ‘painting over’ the problem – it’s a decision you’ll soon regret.
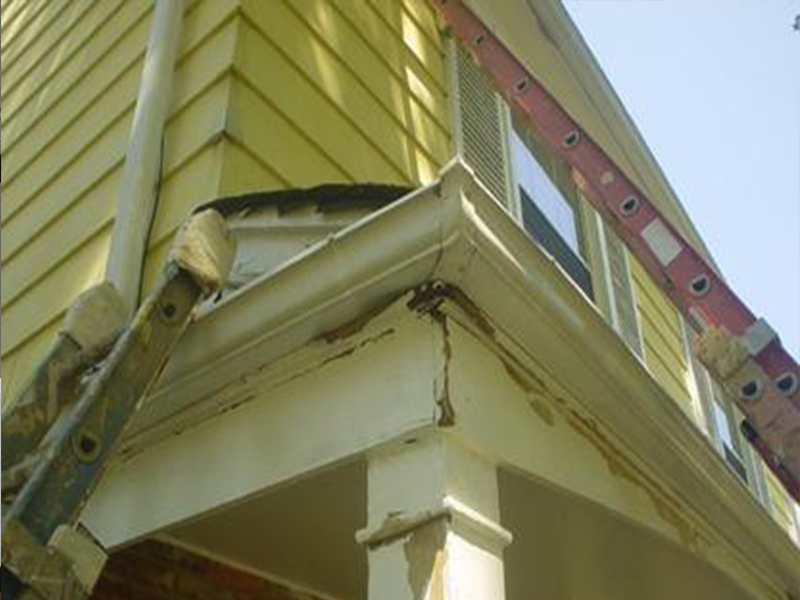
Step Four. Tend to Damages
If it’s obvious at this stage that the surface’s badly damaged, now’s the time to carry out the necessary repairs. This involves getting hold of some high-quality filler and using a putty knife to fill holes and correct unevenness to the surface. Go back to the filler with some sandpaper after it has dried, further improving the smoothness and evenness of the surface.
Step Five. Prime
The importance of using the highest-quality primer you can lay your hands on cannot be overstated. This will make an enormous difference to both the quality and the longevity of the final result. Cut corners on primer quality and there’s no point using decent paint. In fact, there’s no point bothering with the project in the first place. Apply one or more coats of primer (in accordance with the manufacturer’s guidelines), providing each with plenty of time to dry.
Step Six. Paint
Last up, you’ll now be in a position where you’re ready to apply the first coat of paint. Take your time, apply a comparatively thin initial coat and give it plenty of time to dry. Unless otherwise specified, it is usually necessary to apply one additional coat at least. Stand back, admire your handiwork and see if any additional touch-ups are required, before removing the protective sheets from the workspace.
Call for a Quote…
If you’d prefer a quicker, easier and perhaps even cheaper option, call the experts at Homm CPS for a quote. We provide a comprehensive range of interior painting services of the highest-quality, backed by our market-leading warranty for total peace of mind.
Before getting started on a painting project of any kind, call the team at Homm CPS for an obligation-free quotation.