Painting Over High-Gloss Paint
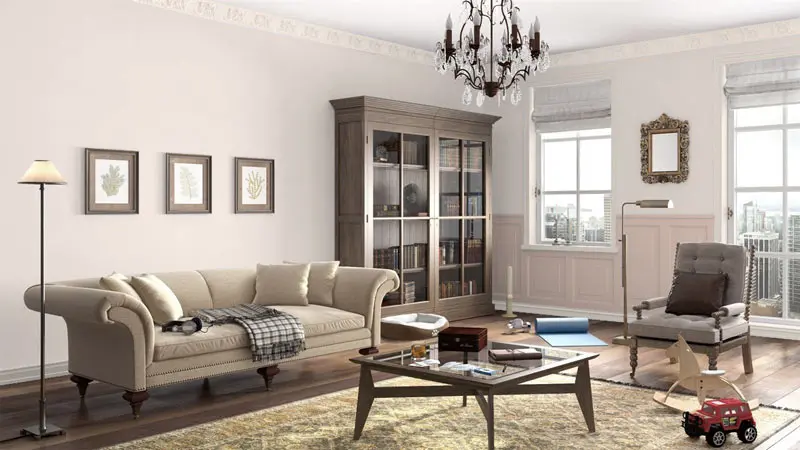
Around various areas of the home, high-gloss paint serves two important purposes. Along with looking great, it can also be uniquely durable and resistant to the rigors of everyday life. Hence, high-gloss paint comes highly recommended for high-traffic areas, along with anywhere kids and pets may be present.
Still, it’s only a matter of time until even the most immaculately painted surfaces begin to show their age. The problem with high-gloss surfaces being that you can’t just simply slap a new coat of paint on and hope for the best. You can, but you’re guaranteed to end up with a poor-quality finish.
As is the theme with so many painting projects, the key to success lies in preparation. Applying the paint itself is actually less important than ensuring the surfaces are adequately prepared.

So with this in mind, here’s a quick rundown of the steps involved in painting over high-gloss paint like a pro:
Step 1 – Clean The Surface Thoroughly
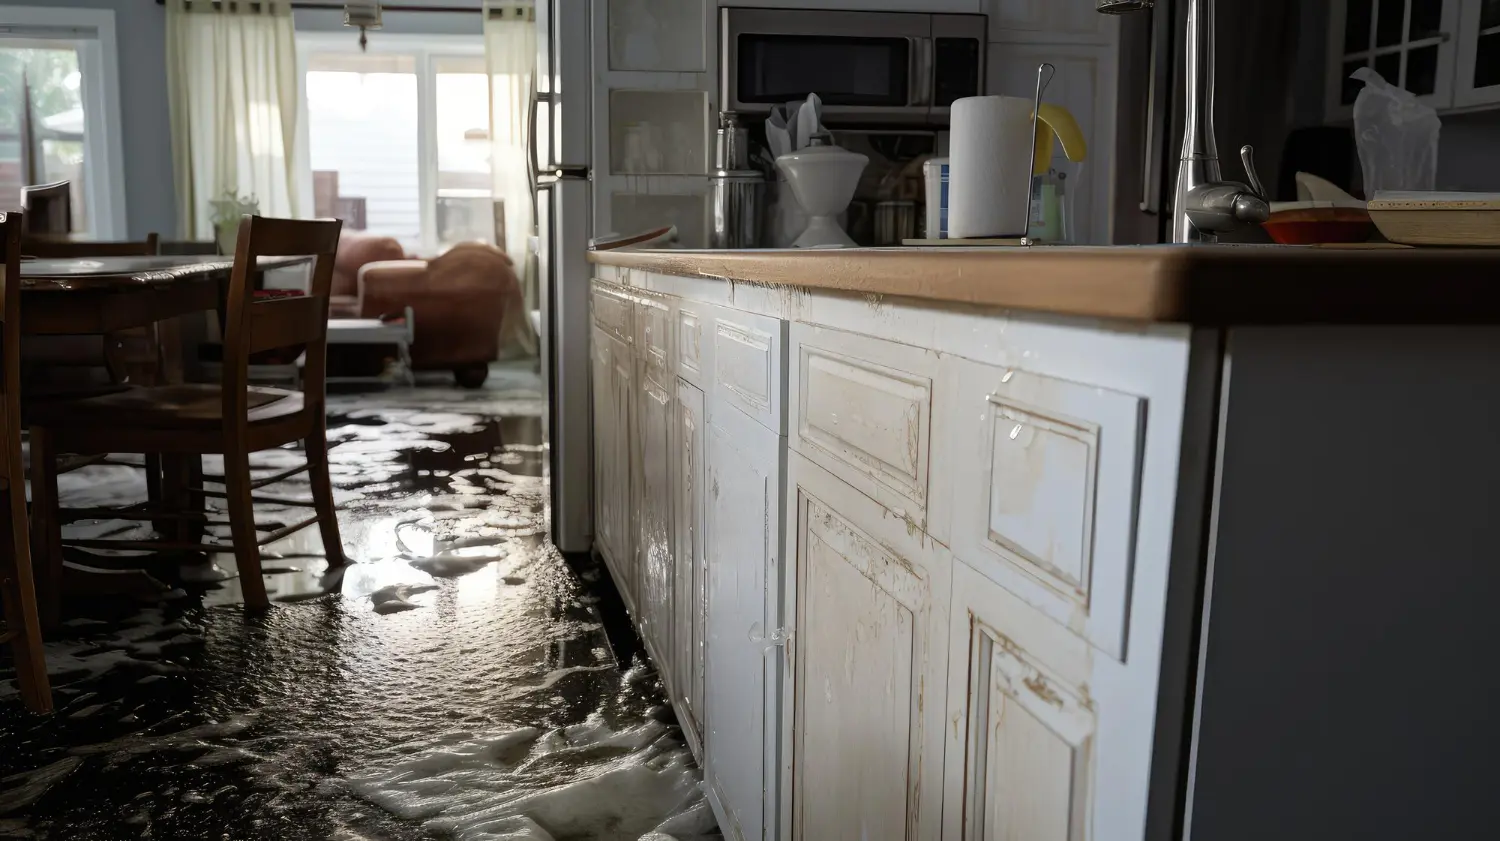
First of all, you’re going to need to clean the surface like you’ve never cleaned it before! It doesn’t have to be a particularly laborious job, but attention to detail is key. Add a little detergent to some warm water, grab yourself a rag and give the whole thing a good wipe down. Of course, you’ll also want to protect anything and everything in the vicinity beforehand, given that things are guaranteed to get rather messy.
If you decide to go ahead with a commercial pre-paint cleaner, ensure there is adequate ventilation in the area and wear appropriate personal protective equipment. These chemicals can give off the kinds of fumes you really don’t want to be breathing in.
Step 2 – Sand The Surface
When the whole thing has been given plenty of time to dry, it’s time to get busy with a sheet of fine sandpaper. Two things to remember here – the first of which being that you aren’t in fact trying to remove the paint in its entirety. Instead, you’re simply looking to create a slightly rough surface, which will make it so much easier for the paint to stick.
Secondly, if there’s even the slightest chance lead paint may have been used on your walls, you might be better-off having the experts remove it on your behalf. Breathing in lead paint dust has potentially deadly consequences. If you’re not entirely sure the existing paint on your walls is safe, it’s not worth taking the risk – call in the pros.
Step 3 – Clean The Room
The process of sanding down the walls will inevitably leave you with one hell of a mess to clean up. Unless you’ve hired help to take care of things therefore, you’ll now need to give the whole room a good clean. Be as meticulous as possible, as any residual dust and grime in the room could have an adverse effect on the painting process and the finish.
Take as much time as necessary to give the room a good clean from top to bottom, before once again protecting anything valuable in the vicinity with sheets and so on.
After you have completed cleaning and sanding the walls, you will be left with a collection of grime and dust. Wipe down the walls thoroughly with a damp rag to remove any remnants. Clean the floors with a vacuum cleaner and follow up with a mop. Just like it was important to clean away the old high gloss paint, it is important to work in a clean room before you apply your new paint. Any billowing dust will mar your paint job.
Step 4 – Apply The Primer And Paint
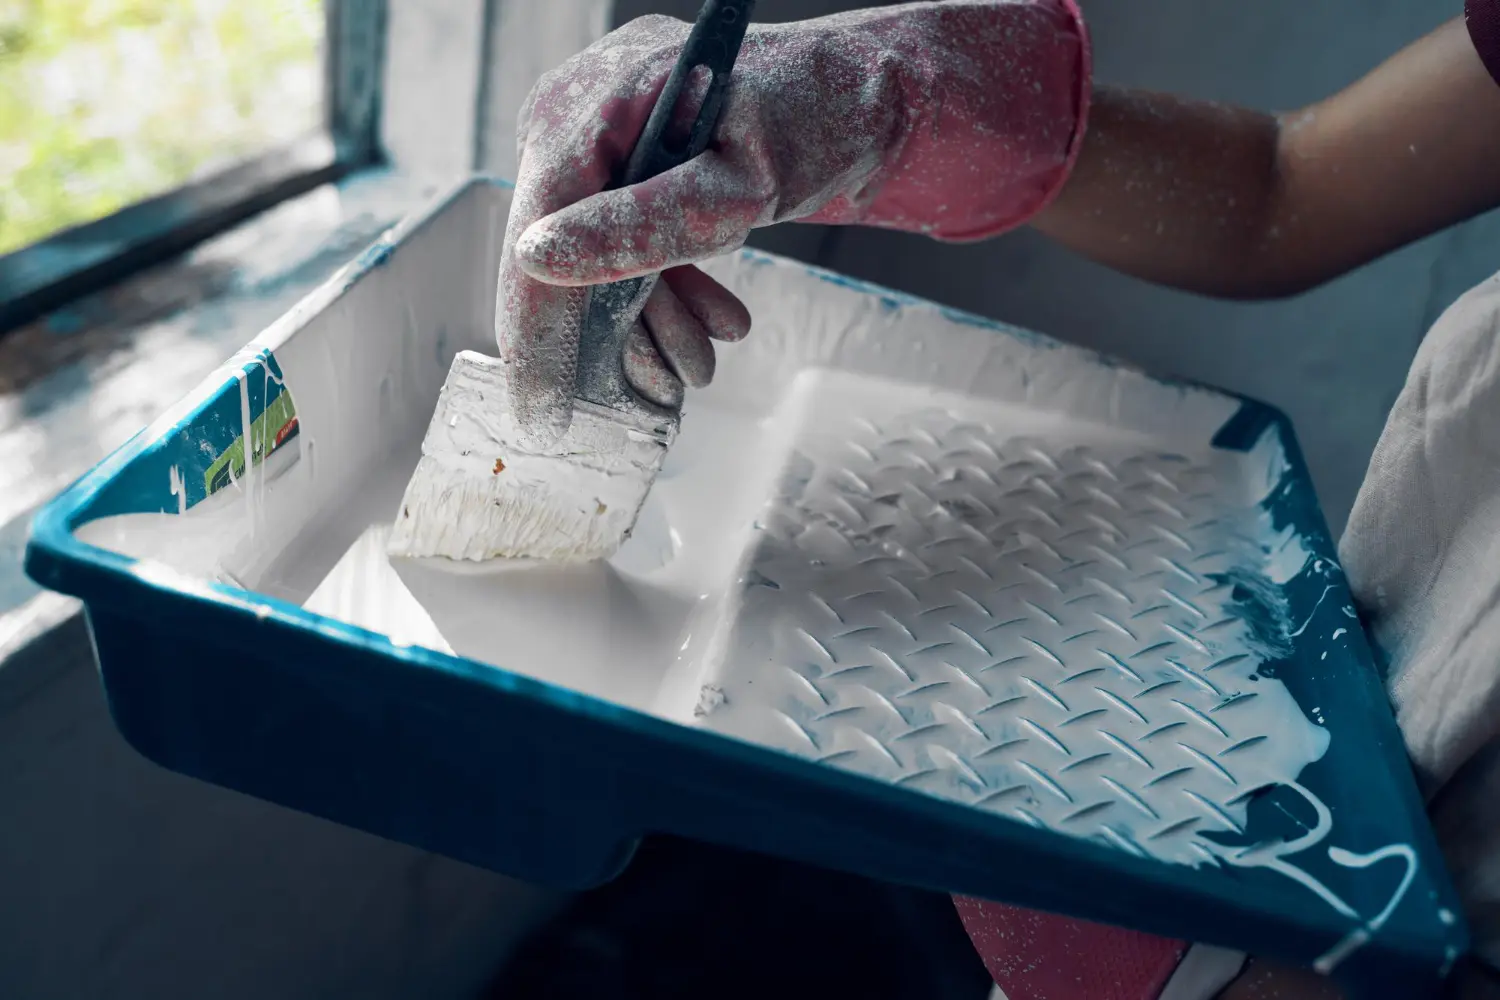
Once all of the above has been taken care of, you’re free to move on to the enjoyable parts – priming and painting. Use the best-quality primer you can lay your hands on and apply it in accordance with the manufacturer’s instructions. Give it as much time to dry as necessary, applying a second coat only if instructed to do so.
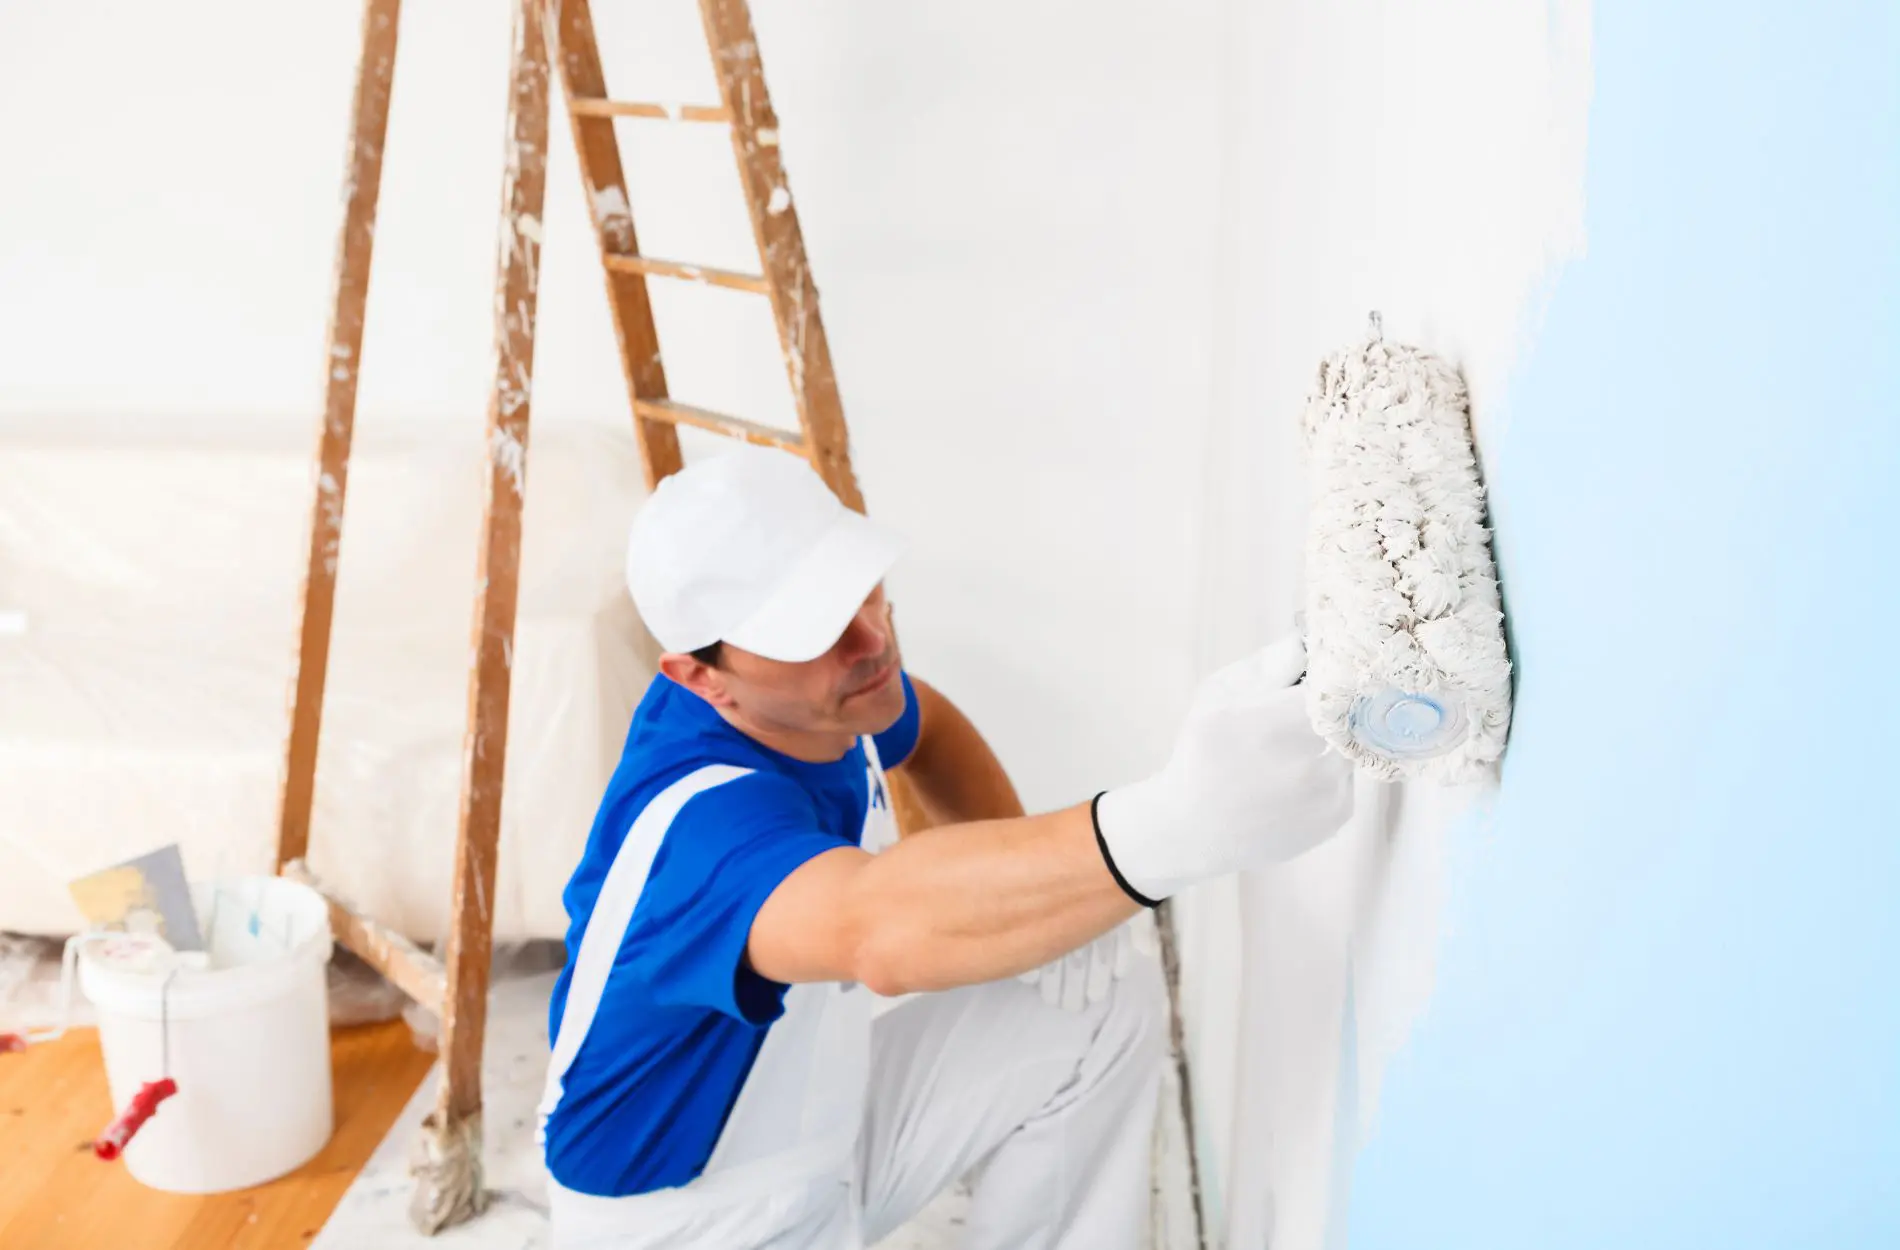
Follow a similar process with the paint, applying your chosen paint to a small area at a time to ensure an even finish. Give it plenty of time to dry, before going over things once again if necessary. When you’re done, feel free to stand back and admire your handiwork!
For more information on any aspect of interior painting or to discuss our services in more detail, contact a member of the Homm CPS team today.

