Indispensable Tips for Interior Painting in Winter
Do the weather conditions outside need to be taken into account when painting indoors? The short answer is yes – approaching interior painting jobs strategically in the winter is important.
Nevertheless, this doesn’t mean that interior painting during the colder months of the year is impractical or inadvisable. As covered in a couple of previous posts, there are actually several major advantages to painting in the winter compared to the warmer summer months.
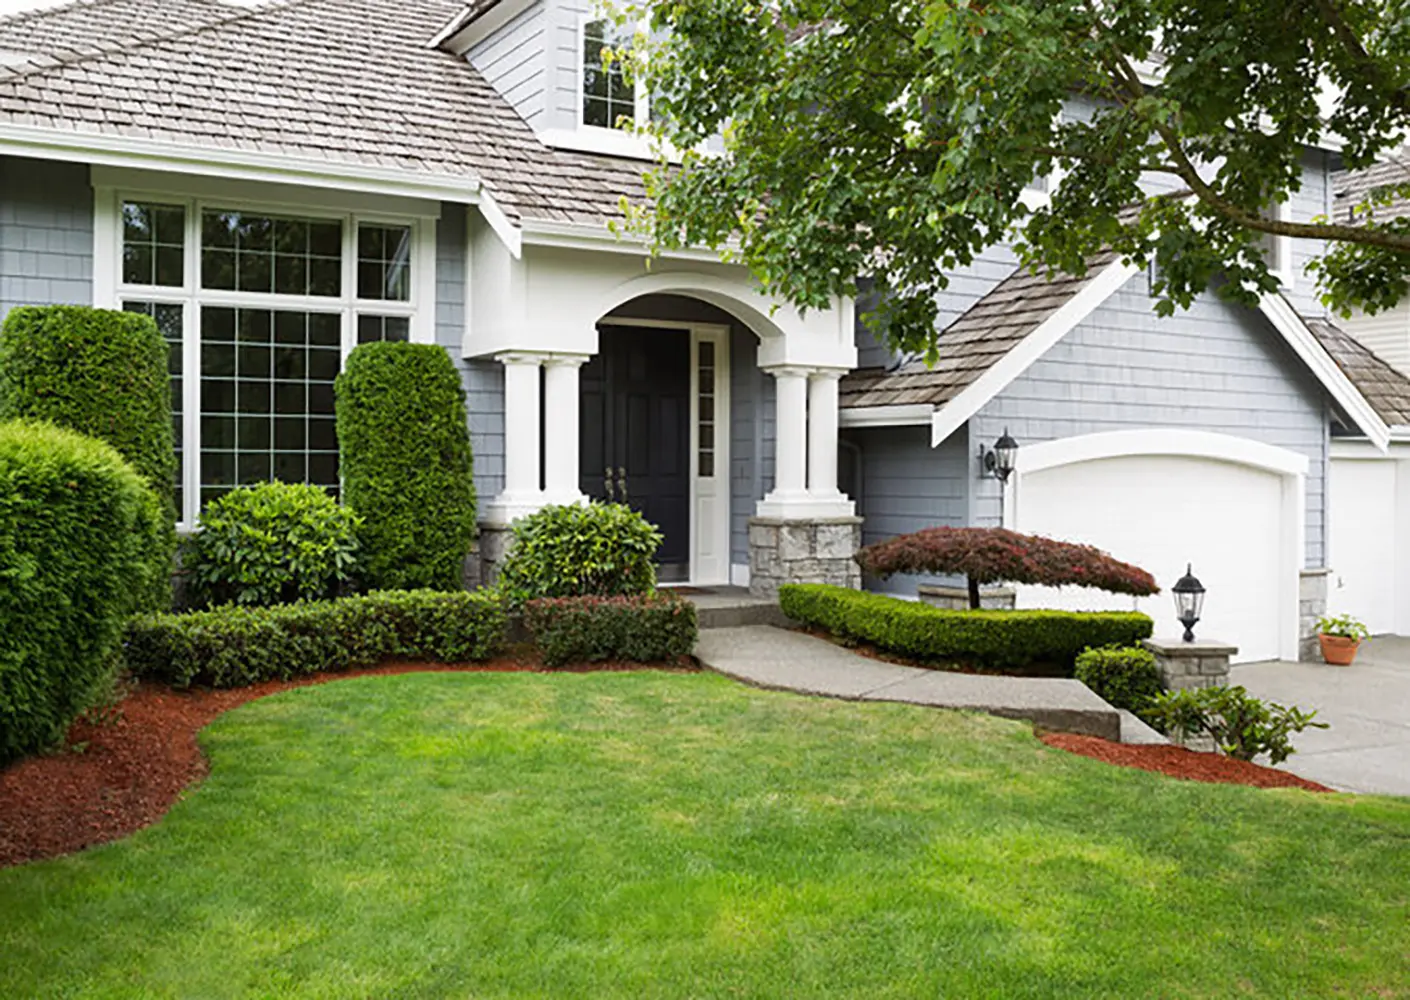
Too Cold for Exterior Painting?
The winter isn’t the best time of year to consider major exterior painting projects. As a general rule of thumb, the optimum (or usable) temperature range for most types of paint is 50 degrees F / 10 degrees C to 95 degrees F / 35 degrees C. Aiming for something right in the center is ideal – anything that edges towards these limitations will make the job way harder than it needs to be.
If the temperature is too cold – which it probably is right now – your paint isn’t going to cure properly, and the finish will be compromised. Even when it does finally set in place, it’ll be exponentially more likely to crack, chip, peel and flake away in no time at all.
Hence, painting outdoors right now isn’t a good idea. Even if there’s a job you’re dying to tackle that’s been driving you mad, consider putting it off until the weather improves.
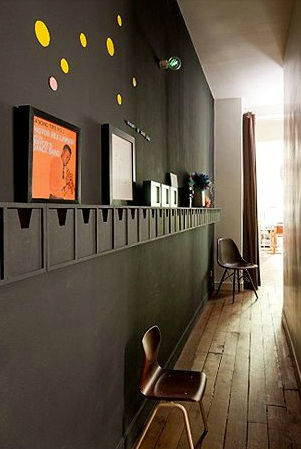
Ideal Conditions for Interior Painting
Again, we’ve covered some of the reasons why indoor painting during the winter can be surprisingly simple and satisfying. As a reminder, this is why tackling interior painting projects when it’s pretty unpleasant outdoors isn’t as crazy an idea as it sounds:
- The temperature in your home when controlled by your central heating system during the winter months will most likely be just about perfect.
- Interior air tends to be much drier during the winter months, resulting in the paint you apply drying faster for a quicker overall job.
- If you decide to go ahead with a pro painting job, prices tend to be lower and availability higher during the winter months.
- As there’s not a great deal to do outdoors due to the lousy weather, you may as well make the best of your time and spruce up your interiors!
In a nutshell, four reasons why it’s worth getting your hands dirty with any interior painting jobs you’ve been putting off.
Tips for Improved Interior Painting this Winter
Moving on, we’ll be taking a brief look at a handful of tips and pointers for improved interior painting in the winter. Be mindful of the following and you may find it surprisingly easy to produce a pro-grade result in no time at all:
- Plan the timing of your project carefully
First up, it’s essential to remember that interior paint looks completely different in natural light then when bathed in artificial light. It’s therefore better to paint by the light of day (where possible), which means planning your project carefully. The days are much shorter in the winter, so it’s advisable to both start and finish each day earlier than you normally might.
- Keep a close eye on temperatures and humidity levels
Don’t just make assumptions regarding the temperatures and humidity levels in your home – measure them. This often holds the key to getting the job done quicker and better, as it’s practically impossible to produce a quality finish when it’s too warm, too cold or too humid. Something to be particularly mindful of when painting kitchens and bathrooms.
- Start at the top and work your way down
As a general rule of thumb, it’s usually better to start with the ceilings, then move onto the walls and tackle the trim at the end. Or to put it another way, start at the top and work your way down. This will ensure most drips and splatters that occur along the way don’t wreck the work you have already done.
- Don’t be tempted to rush the job
It can be tempting to hurry things along, due to the inevitable chaos and disruption interior painting causes. Nevertheless, it’s essential to take your time and give each coat of paint (and primer) more than enough time to dry in place properly.
- Ensure adequate ventilation
Last up, many high-quality paints these days don’t emit any particularly harmful vapors to be worried about. There are also plenty than don’t even smell too bad. Nevertheless, others call for good ventilation and air circulation to keep you and your family safe. Always consult the manufacturer’s guidelines, before getting started with your interior painting project.