How to Paint Your Kitchen in Seven Semi-Simple Steps
The kitchen is the heart of the home, often making the biggest contribution of all to its market value. Simply by painting your kitchen a different color, the effect can be transformative in the extreme.
Unfortunately, the kitchen can also be one of the most daunting rooms of the homes to tackle. Loaded with all manner of hardware, cabinets and appliances, it all adds up to problematic painting.
Or so it seems, but painting the average kitchen can actually be surprisingly simple. As with all interior painting jobs, the key to making life easy for yourself lies in careful and strategic planning.
Realistically, there are just seven things you need to do to give your kitchen the ultimate visual makeover:
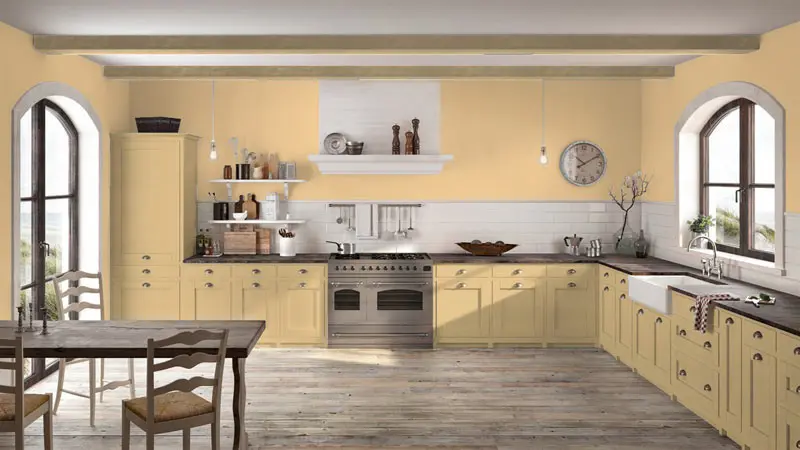
1. Choose the Right Color
We say ‘right’, but it’s entirely up to you which way you go. What’s great about the kitchen is the way in which you can get away with colors you wouldn’t normally use elsewhere. Bright and bold colors can work a treat in the kitchen, so you can be as imaginative as you like.
Just be mindful of the fact that if planning on selling your home in the near future, neutrals are better than bolds.
2. Stock up on Tools and Equipment
The next thing to do is ensure you have all the tools, equipment and consumables you’ll need. If it all adds up to a fairly expensive shopping list, hiring a pro painting team could be the cheaper option.
The basics of what you’ll be needing are as follows:
- High quality paintbrushes
- Roller frame and roller cover
- Paint tray and liner
- Canvas drop cloth
- Dust mask or respirator
- Shop vacuum
- Tack cloth
- Soft, clean cotton rags
- Interior acrylic-latex paint
- Primer
- Masking film
- Painter’s tape
- Degreaser
A second pair of hands is also essential, as you may by spending a fair amount of the process atop a stepladder (which you’ll also need).
3. Remove and Clean Everything
The quickest and easiest way to paint a kitchen is to first remove as much as you possibly can – i.e. your cabinet doors, drawers, handles, knobs etc. It’s so much easier to paint things like these when you do not have gravity working against you.
After which, you can give every surface you intend to paint a thorough clean. Use a degreaser to cut through accumulated grime, before giving everything a wipe with a damp cloth and allowing plenty of time to dry. You can then get started protecting everything in the vicinity you would prefer not having a coat in paint.
4. Sand and Prime the Surfaces
In some instances, a painted surface that is in pristine condition can be painted over, without priming. However, a coat of primer will always help the paint adhere, while at the same time ensuring its true color shines through evenly and uniformly.
Any particularly smooth or glossy surfaces will also need to be sanded gently, prior to the primer being applied. This is to create a slightly rough surface for the paint to adhere to – most types of paint cannot stick properly to a super-smooth surface.
5. Roll the Large Areas
Everyone has their preferred approach, but we generally advise painting the largest open spaces first. Use a roller to tackle the largest areas, leaving a couple of inches between the main painted area and the painter’s tape.
Take your time, with the aim of applying a thin and even layer, which will subsequently be followed by one or more additional layers.
6. Paint the Trim
Give the initial coat of paint an hour or two to begin drying, before getting started with the trim. Again, look to apply thin and even coats of paint, which will help avoid drips and runs.
Allow plenty of time to dry, before moving on to the next coat.
7. Apply Additional Coats
The final step in the process is to continue repeating with additional thin coats of paint, until the desired effect has been achieved. Once more, the importance of taking your time and applying several thin coats (rather than one or two thick coats) warrants repeating.
Ensure the paint has been given more than enough time to dry, before reattaching your hardware, cabinet doors and so on. The last thing you want is to compromise the quality of the entire result by rushing things.
For more information on our cost-effective home painting services or to discuss any aspect of kitchen painting in more detail, contact a member of the team at Homm CPS today.