How To Paint Crisp, Clean Lines Around The Home
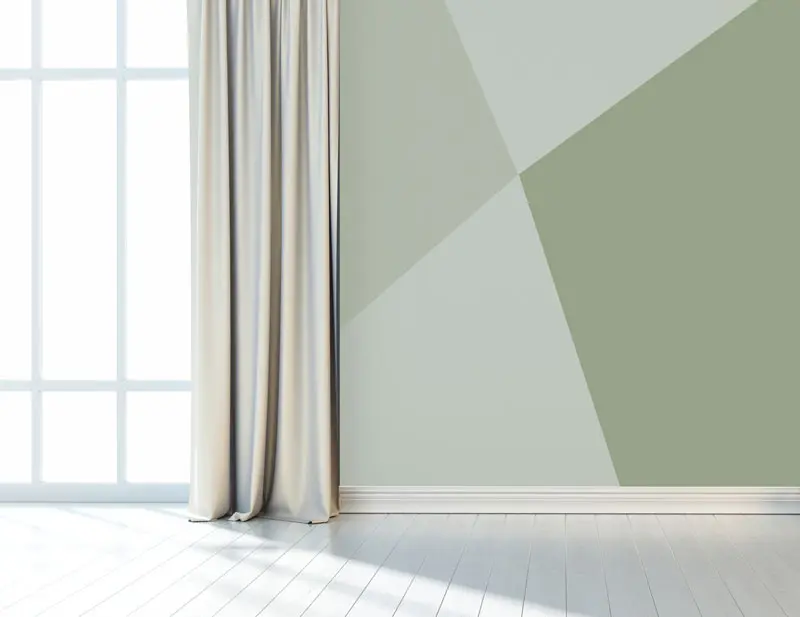
There’s nothing more indicative of a professional paint job than the kinds of clean, crisp lines that are as close to flawless as it gets. Used strategically, straight lines can be enormously effective when creating a unique color scheme for your rooms. Where appropriate, we strongly recommend combining colors to really set off your interiors.
All well and good, but painting perfect lines often proves problematic. If you’ve ever attempted to paint a perfectly straight line yourself, you’ll know where we’re coming from. Things might look fine from a distance, but aren’t nearly as pleasing upon closer inspection.
So what’s the secret to painting crisp lines like a pro? Is there some magic formula? Or perhaps a professional piece of equipment the average DIYer lacks?
In both instances, the answer is no. Realistically, you need nothing more than your usual basic painting supplies, along with a steady hand and a fair amount of patience.
Here’s How It Works:
- The single most important provision you’ll be needing is the roll of the best quality decorator’s tape you can find. Just ensure that it is the low-tack variety, meaning it isn’t too sticky and won’t rip the paint off your walls when you remove it. Ask your local hardware store if unsure which tape to choose.
- Use a piece of chalk or a pencil to draw a rough line on the wall where you want the two colors to meet. Do your best to keep the line as straight as possible, using a spirit level to ensure the line is parallel to the floor. Unless going for a more creative and dynamic design, then it really doesn’t matter where or how the line sits!
- Whichever of the two colors is the lightest should be applied first. Paint the respective section of the wall as normal, going over the line you drew by a couple of centimeters. Try to avoid excessive dripping where possible, as this may cause problems when painting the lower portion of the wall.
- Under no circumstances should you move any further until the top section is completely dry. If the manufacturer’s instructions specify a drying time of 24 hours, give things 36 – just to be sure.
- When the paint is fully dry, you can then apply the masking tape across the bottom of the first layer of paint. You’ll need to be more meticulous this time around, given that the tape will determine the cleanness or otherwise of the final line. Rather than unrolling the tape as you go, unroll a long length, stretch it tightly and press it into place firmly. This will help ensure that the resulting line is as straight as possible.
- The tape should be positioned so that its edge sits approximately two centimeters above where the first coat of paint ends. It’s important to ensure that the edge of the tape is pressed down firmly, in order to avoid excess paint creeping under the edge and ruining the line. During the painting process, paint along the length of the tape, rather than in an upwards motion. Again, this will reduce the likelihood of paint seeping under the edge of the tape.
- When this section of the wall is complete, you’ll need to be strategic as to when you remove the tape. You need to wait until the paint is dry enough to prevent dripping, but isn’t so dry as to crack and flake away when you remove the tape. It should be tacky, but not completely dry.
- Last but not least, carefully remove the tape one section at a time. Step back and admire your handiwork!
If the lines you paint come out messy and uneven, it’s typically due to one of a few common mistakes. The most common of which being the use of poor-quality decorator’s tape, which guarantees disappointing results.
Second only to this is rushing the job and not giving each coat of paint sufficient time to dry. You’ll also find it difficult (or impossible) to create crisp lines if you paint your walls with the lowest-quality paint money can buy.
For more information on any aspect of interior painting or to discuss your requirements in more detail, reach out to a member of the team at Homm CPS today.