The Easy Way to Remove Wallpaper
There’s nothing quite like wallpaper to put you off the idea of painting your interiors.
Painfully aware of the fact that you can’t paint over it, the only realistic option is to remove it. For those who’ve attempted this particular process before, you’ll know exactly how arduous it can be.
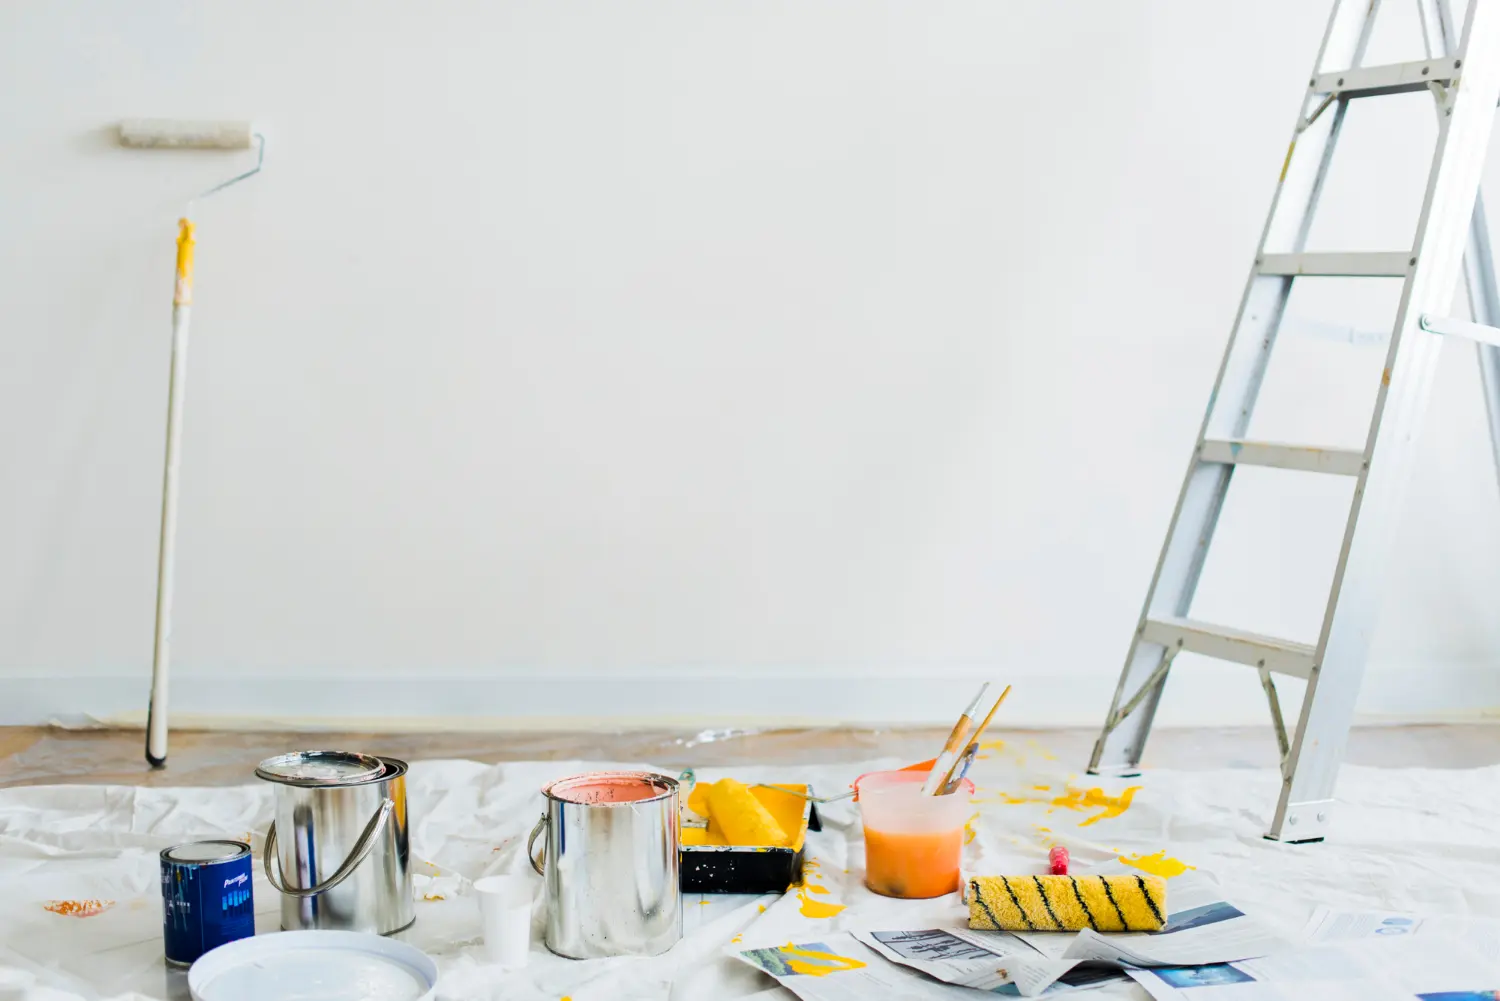
Messy, laborious and time consuming in the extreme, removing wallpaper isn’t fun. Even with all the right tools at your disposal, it’s never a particularly pleasant process.
Still, it’s something that needs to be done, if you’re to give your home the interior makeover it deserves. In which case, we’ve a few basic guidelines to share, which can at least make it slightly less of a headache.
Gather The Equipment You Need In Advance
Making it up as you go along is not a good idea. Instead, a carefully planned approach complete with all essential tools holds the key to successful wallpaper removal.
Prior to getting started, these are the things you’ll be needing to (finally) get rid of the wallpaper that’s been cramping your style:
- Wallpaper Roller Remover
- Sponge
- Spray Bottle
- Scrub Brush
- Blue tape
- Paper floor covering
- Paint Remover
- Water Bucket
- Trash bags
Several of these items can be substituted for the more obvious household alternatives, but this is nonetheless the arsenal you’ll be needing to get the job done.
Prep Meticulously And Intensively
It’s going to be a messy process, so you need to take as much time as necessary to prep the surrounding space. The best thing you can do is remove as much as possible from the room in its entirety, leaving only a few things behind to cover and protect.
Paper floor coverings should be used to protect your floors, while blue tape can be used liberally to safeguard things like sockets, baseboards, light switches and so on. Envisage a project where the whole room gets splattered in nastiness and prep the space accordingly.
Once these materials have been acquired, then the removal process can begin.
Score The Wallpaper Carefully
Now comes the time to take the wallpaper roller remover and begin scoring lines evenly across the entire wall. This handy little tool is designed to penetrate the surface of the wallpaper deep enough to let the liquid do its thing, though without damaging the wall beneath.
You can technically get by without a specialist tool, simply using something appropriate (like a scraper) to score the surface carefully. Though in this case, you’ll need to exercise even greater caution to avoid causing damage to your walls.
Spray The Surface With An Appropriate Solution
You can make your own wallpaper removal solution, or you can buy one readymade. They both work just as well and the basic methodology is identical. All you need to do is spray plenty of the stuff all over the freshly-scored surface, before giving it a good 10 minutes or so to soak in.
If all goes to plan, you should begin to see parts of the wallpaper start peeling from the surface at this point. If not, you can always give the whole thing another spray and wait another 10 minutes or so. Even if nothing is happening visually, chances are it’s still doing its job behind the scenes.
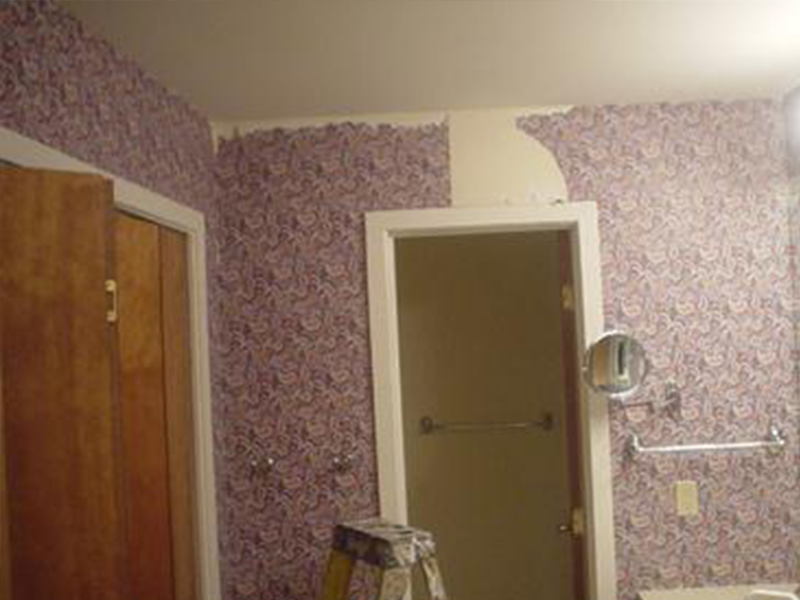
Peel The Paper Away From The Wall
The beauty of this method is that you technically should not need to use a scraper, or any real elbow grease to get the paper away from the wall. If the above steps have worked as they should, you’ll now be able to gently peel the paper away from the wall in fairly large sheets.
Use more of the wallpaper remover solution as you go, as you’ll undoubtedly come across the occasional snag or sticky patch. Speaking of sticky, be sure to toss the sheets you pull away directly into trash bags, as the gluey surface will quickly dry once again and become seriously messy to work with.
Give Your Walls A Good Clean
Last up, all that’s left to do at this stage is give your walls a good clean. There will probably be a fair amount of sticky residue left on the walls, which can be removed with nothing more than some warm water and a scrubbing brush. Try not to saturate your walls too much if possible, which in some instances could lead to issues with mold or mildew.
When the surface is clean and fully dry, it’s ready to be primed and painted any color you like. Suffice to say, the satisfaction of having finally gotten rid of the last of the wallpaper in your life is something else!
Call the team at Homm CPS today for more information on the services we provide, or get in touch by e-mail and we will get back to you as soon as possible.