Painting Varnished Wood in Four Simple Steps
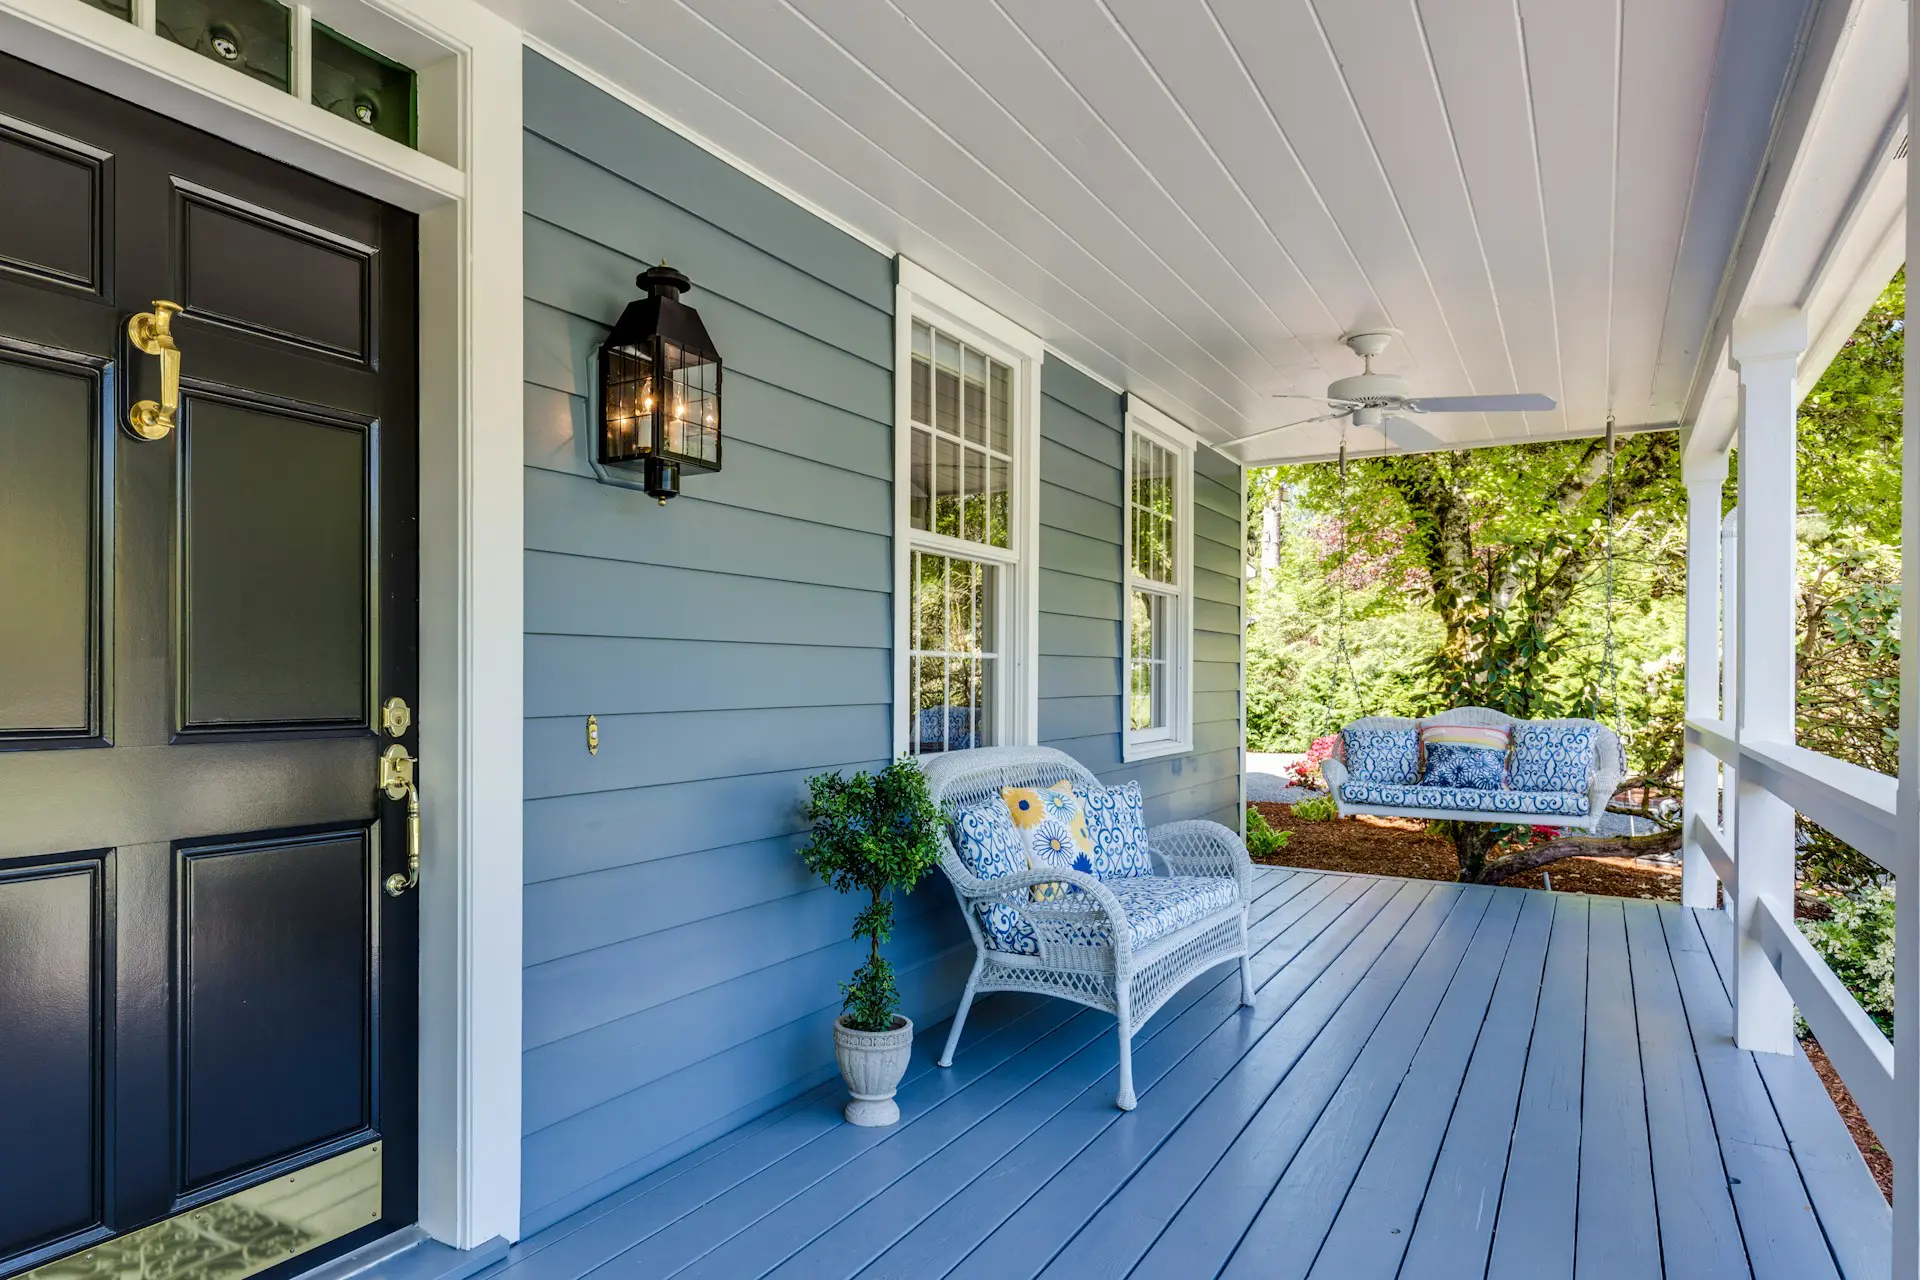
Have you ever spotted a varnished surface at home and thought “Yep…that would look way better painted a different color”?
If so, you’re certainly not in the minority. Varnished wood can look fantastic – no doubt about it. But if looking to modernize something that’s looking a little dated, a fresh coat of paint can work wonders.
For some, the idea of painting varnished wood can be a daunting prospect. It’s already coated in a thick layer of varnish, so you’d expect the process of removing it to be laborious.

Which it can be, but isn’t always.
Either way, it’s a worthwhile endeavor and a surprisingly enjoyable weekend project to try out. Not to mention, a project that can breathe new life into just about anything that’s looking a little dated.
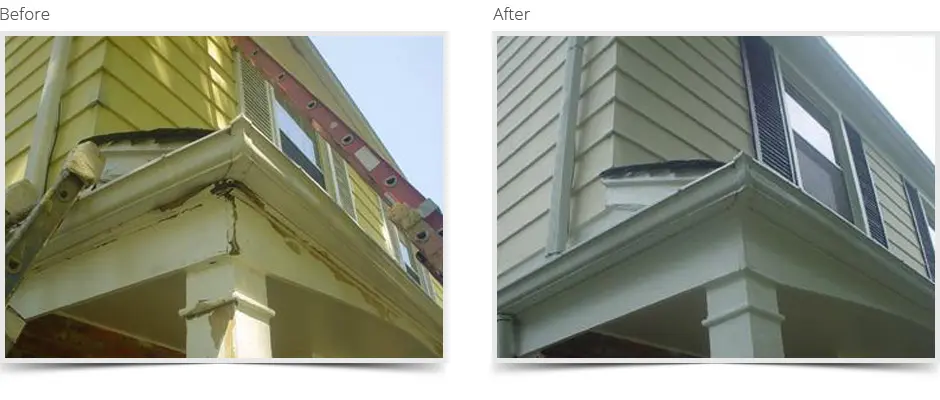
And of course, there’s nothing like a fresh coat of quality exterior paint to protect your exterior woodwork and features from the inevitable bad weather to come.
Before Starting the Project
This is far from a particularly hazardous project, but commonsense safety precautions are essential. This counts double if working with a chemical stripping agent, which isn’t always necessary. Even when working on varnished wooden surfaces outdoors, it’s better to be safe than sorry.
In any case, personal protective equipment for the eyes, hand and airways is essential. As is keeping kids and pets as far from the arena of combat as possible!
Here’s a brief overview of the four main steps involved in painting varnished wood:
Step 1: Sand the Surface
A power sander is by far the quickest and easiest way to remove the glossy surface from the wood. It’s technically possible to adopt the manual approach, but will require a fair amount of elbow grease. Chemical strippers can also be used to remove varnish, but can also be quite hazardous to health.
It’s entirely up to you which way you go, but you’re looking to achieve the same result in all instances. Keep at it until the surface in its entirety is no longer glossy, after which a wipe with a damp cloth will ensure as much dust as possible is removed.
Step 2: Apply a Layer of Primer
After giving the surface of the wood enough time to fully dry, you can apply a coating of primer. Most types of standard wood primer will do the job just fine, in accordance with the manufacturer’s guidelines.
Primer should typically be applied in a thin and even coat, sometimes followed by a second layer. Take your time and proceed as slowly as necessary to create a smooth and even finish. Remember – proper priming holds the key to a professional-quality paint job.
Step 3: Sand Once Again
When the primer has fully dried, take a piece of fine-grit sandpaper and go over the surface in its entirety. You’re looking to create a very slightly rough surface to paint, which will enable better adhesion.
Give the surface a good wipe once again with a clean and very slightly damp cloth. Allow to dry fully before proceeding to the next step.
Step 4: Paint the Surface
The final step in the process is to carefully paint the surface, using the highest quality paints and brushes available. Specialist exterior paints should be chosen when painting outdoor furniture or fixtures, to provide the necessary protection.
Start from the top and work your way down, dealing with drips as you go. Take your time an add a thin layer of paint, allowing to dry fully before proceeding with the second coat. Depending on the type of paint you use, it may be necessary to apply one, two or even three coats.
Final Notes…
Upon completion, a layer of polyurethane (or a or similar protective product) can be applied to ensure robust protection from the elements.
In addition, outdoor projects like these should always be timed in accordance with appropriate weather conditions. Avoid painting and staining outdoors when it is too hot, too cold or too humid. Likewise, direct sunlight should also be avoided when painting and staining outdoors.
Call Homm CPS for a Quote
At Homm CPS, we offer an extensive range of interior and exterior home painting services at affordable prices. From the smallest touch-ups to major makeovers, we guarantee the ultimate in affordable quality.
What’s more, every job we take on is covered by our market-leading warranty for total peace of mind. Call today to learn more, or email Homm CPS and we will get back to you as soon as possible.
