How to Avoid and Fix Peeling Paint
Avoid peeling paint in the first place and you’ve no need to fix it. A fairly obvious statement, that faultless logic, nonetheless.
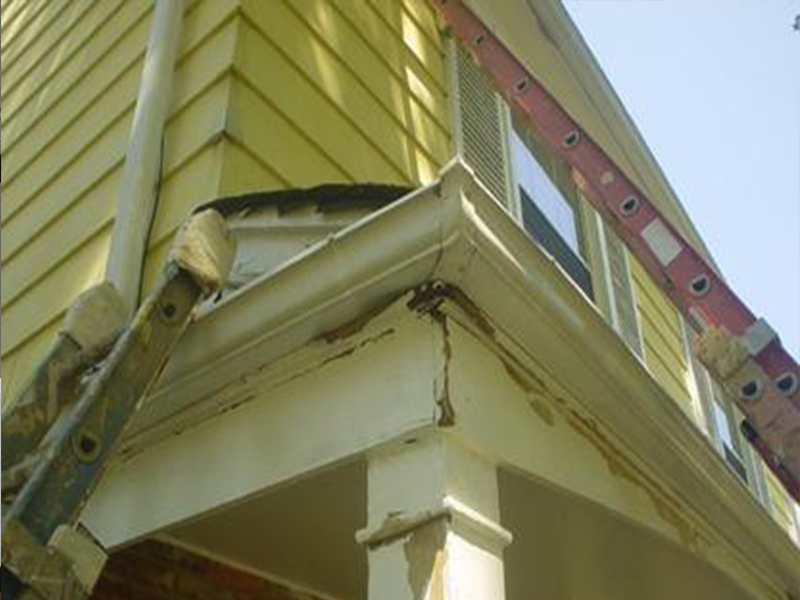
Take that begins to peel can be the ultimate gut punch after completing an interior painting project. Be it a week, a month or a year down the line, the realization that the paint on your walls is peeling is disheartening, to say the least.
On the plus side, a little knowledge and understanding as to why paint peels and the first place can help reduce the risk of this nightmare scenario.
What Causes Peeling Paint?
Peeling paint on surfaces of any kind is almost always attributed to one of seven things:
- Poor surface preparation
Paint cannot and will not stick to a surface that has not been properly prepared. If there is any residual dust, dirt, grease, grime, or debris on the surface, you can forget about it. Sooner or later, the paint will begin to crack and peel away, having been unable to stick fast in the first place.
- Moisture and humidity
Paint cures (i.e. dries and sticks in place) through a process of natural moisture evaporation. The moisture in the paint gradually dissipates into the air, allowing it to cure and adhere to the surface. Consequently, this curing process is rendered impossible by excess moisture and humidity in the surrounding space. If this moisture and humidity get between the paint on the surface, it will crack, flake, and peel.
- Painting over damaged paint
Out of sight, out of mind – the temptation to paint over damaged paint is understandable. Sadly, doing so does nothing to repair (or even extend the lifespan) the damaged paint beneath. This is one of the most common errors made when painting interior surfaces, and an easy recipe for guaranteed peeling and flaking.
- Layering incompatible paints
The same can also be said for layering incompatible paints, which is something many people do without even realizing it. If you use latex paint over oil-based paint (or vice versa), the top coat will not be able to dry and cure properly in place. It may look fine at the time, but it won’t the long before your efforts are laid to waste.
- Low-quality paint or primer
The quality of the paint and primer you use will always be a major factor in its lifespan. High-quality paints attach higher price tags for a reason – they are vastly superior to their low-end counterparts. It can be tempting to cut costs by picking up low-cost paint or primer, but doing so is inadvisable. Ultimately, you’ll only end up spending more on repainting your walls long-term.
- Expired paint
This also applies to paint that’s been partially used, stored away, and then brought back out at a later date. All paint has a limited lifespan, after which its formula becomes compromised. At this point, it is no longer able to cure in place as it should.
- Rushing the job
Last up, one of the worst things you can do when painting any interior space is to rush the job along. Applying too many coats of paint (and applying too much paint at a time) to any surface will always compromise the quality of the result. It will look uneven and unsightly, and will also pave the way for cracking and peeling.
Now you know what causes peeling paint, and you also know exactly how to avoid it.
How to Fix Peeling Interior Paint
The process of fixing interior paint is fairly straightforward, but the whole thing can get a little messy. If you’d prefer not to risk making things worse than they already are, consider hiring help.
Otherwise, the six basic steps in the process of fixing peeling paint are as follows:
- Protect the surrounding space with drop cloths, and remove anything that isn’t nailed down. Again, this is a job that tends to get quite messy.
- Scrape away as much of the peeling paint as you can, without applying so much pressure as to damage the wall below. Use a paint scraper and work at it as gently as you can.
- Take some sandpaper and sand around the edges, in order to create a smooth transition between the two areas. This will ensure no outline is visible after painting.
- If there is any major damage to the surface (like holes), patch them with some filler, and smooth the surface with sandpaper.
- Give the whole area a good clean and allow plenty of time to dry, before wiping one last time to remove any residual dust.
- Apply at least one coat of high-quality primer, before carefully painting the surface to match its surroundings.
For more information on the services we provide or to discuss your requirements in more detail, contact a member of the team at Homm CPS today.