DIY Water Stain Repair: Tips from the Pros
Water stains on your walls or ceilings can be an eyesore, and if left unattended, they can lead to more significant problems like mold and structural damage. But fear not, in this article, we will guide you through the process of fixing water stains like a pro. Whether you’re an experienced DIY enthusiast or a novice, these expert tips will help you restore the beauty of your walls or ceilings.
Understanding Water Stains
Before diving into the repair process, it’s essential to understand what causes water stains. These stains are often the result of a leak or excess moisture, which can seep through your walls or ceiling and leave unsightly marks. Identifying the source of the issue and fixing it is the first step in preventing future stains.
Preparing for the Repair
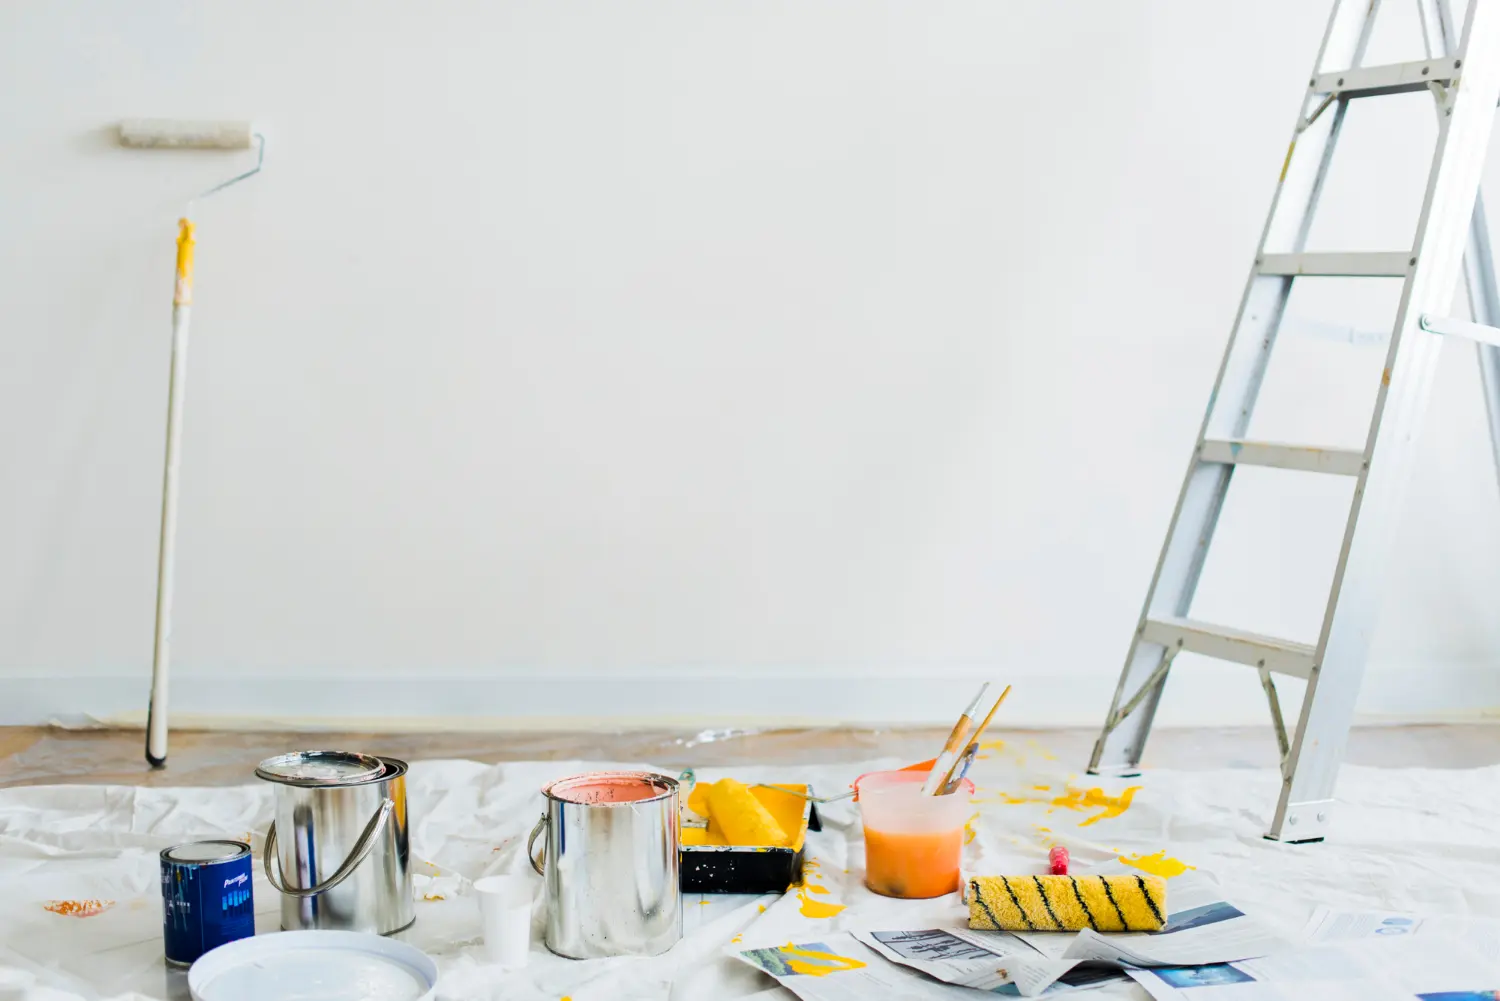
Once you’ve identified the source of the water stain, you’ll need to prepare for the repair. Gather the necessary tools and materials, including a bucket, sponge, sandpaper, putty knife, stain-blocking primer, paint, and a paintbrush. Having these items on hand will make the repair process smoother.
Step-by-Step Repair Process
- Assess the damage:
Begin by assessing the extent of the damage. Is it a small, isolated stain, or does it cover a larger area? Understanding the scope of the problem will help you plan your repair accordingly.
- Gather necessary tools and materials:
As mentioned earlier, having the right tools and materials is crucial for a successful repair. Make sure you have everything you need before you start.
- Protect the surrounding area:
Lay down drop cloths or plastic sheets to protect the floor and any furniture in the vicinity. Water stains can be messy, and you don’t want to add more cleaning to your to-do list.
- Cleaning the stain:
Use a sponge and clean water to gently scrub the stain. In some cases, you may need to use a mild detergent to remove any dirt or grime that has accumulated on the surface.
- Patching and painting:
After the stain is clean and dry, use a putty knife to apply a layer of stain-blocking primer over the affected area. Once the primer is dry, you can proceed to paint over it, matching the color to the rest of the wall or ceiling.
Tips for a Professional-Looking Finish
- Ensure that the paint matches the existing color.
- Apply multiple thin coats of paint for a smooth finish.
- Feather the edges of the painted area to blend it with the surrounding surface.
- Preventing Future Water Stains
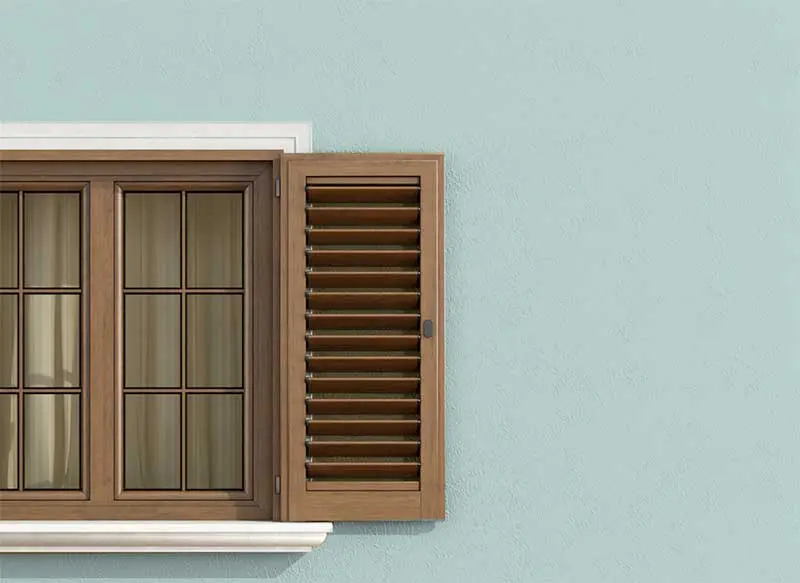
To prevent future water stains, it’s essential to fix any leaks or moisture issues in your home promptly. Regularly inspect your roof, plumbing, and windows for potential problem areas. Additionally, consider using waterproof paints in areas prone to water exposure, such as bathrooms and kitchens.
Fixing water stains on your walls or ceilings doesn’t have to be a daunting task. With the right tools, materials, and a step-by-step approach, you can restore the beauty of your home. Remember to identify the source of the issue, clean the stain, and paint over it, following the expert tips provided. By taking proactive measures, you can also prevent future water stains and enjoy a beautiful, well-maintained living space.
Frequently Asked Questions (FAQs)
- How can I identify the source of a water stain?
Start by checking for leaks in the roof, plumbing, or around windows. If the source is not obvious, consult a professional.
- Do I need to use stain-blocking primer when fixing water stains?
Yes, using stain-blocking primer is crucial to prevent the stain from bleeding through the new paint.
- What should I do if the water stain is extensive?
For extensive stains, it’s best to consult a professional as the repair process may be more complex.
- Can I use any type of paint to cover water stains?
It’s recommended to use a paint that matches the existing color and is suitable for the surface (e.g., latex paint for drywall).
For more information on the services we provide or to discuss your requirements in more detail, contact a member of the team at Homm CPS today.