Covering Up Faux Brick
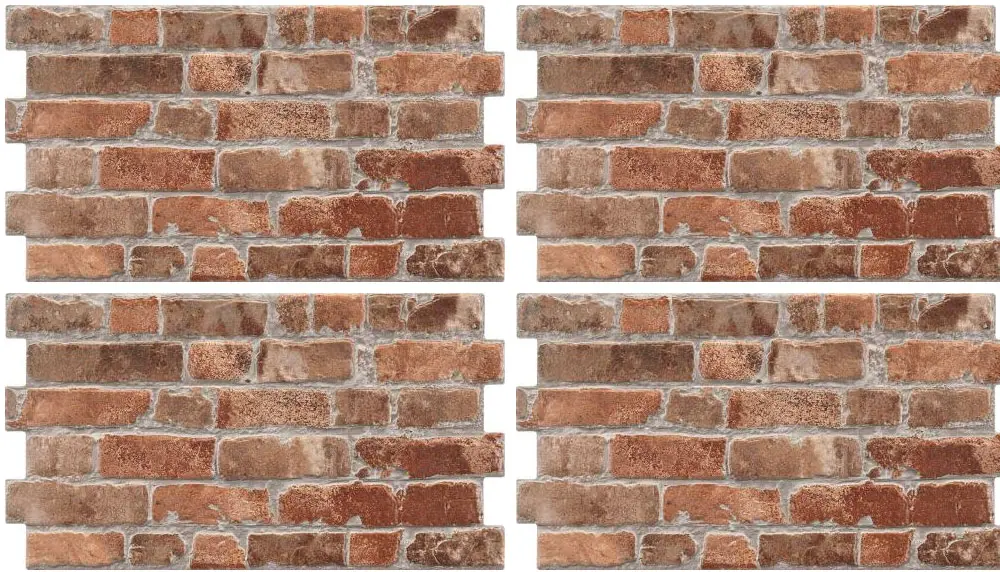
Contrary to popular belief, faux bricks are by no means a new edition to the American home. They may have been popularized once again by industrial design and general hipster movements, but faux brick has been around in one form or another for generations.
In some instances, faux brick has the potential to look better than almost any other wall covering imaginable. Available in a limitless variety of colors and finishes, faux bricks can complement interiors quite beautifully. It all comes down to the wider theme and décor of the property in general.
In other instances however, faux bricks look downright tacky. Not to put too fine a point on it, but they do. Depending on where they’re installed, how they’ve been finished and how the rest of the property looks, faux brick features sometimes stick out like sore thumbs for all the wrong reasons. The problem being that as the surface is pretty much as uneven as it gets, it’s not as if you can just tackle the problem with a paintbrush.

On the plus side, all is most certainly not lost. Removing faux bricks is always an option, but nonetheless tends to be time-consuming, messy and has the potential to cause permanent damage to the wall itself.
As such, a far easier and more effective alternative is to simply cover them with plaster. Something that sounds like a massive undertaking, but can actually be quite straightforward.
So if you’ve decided the faux bricks in your home have outstayed their welcome, here’s how to give them their marching orders once and for all:
Step 1: Clean the Surface
Nothing matters more than ensuring that the surface of the faux bricks is as clean as possible. Any residual grease or dirt whatsoever is only going to have a detrimental effect on the resulting plastering process. The same also goes for residual moisture, which is why you need to give everything plenty of time to dry. This is particularly important if the faux bricks are damaged or porous, as any moisture that creeps beneath the surface will likewise need to be given time to dry, before moving on.
Step 2: Prepare the Plaster
The next step is to arm yourself with a contingency of plaster. Exactly how much you need will be determined by the specifics of the faux brick feature you intend to cover. Preparation of plaster is relatively simple, which usually involves combining the mixture with water as specified in the manufacturer’s instructions. It’s a good idea to prepare plaster away from anything particularly valuable or important, given the fact that it has a habit of splattering all over the place.
Step 3: Protect the Area
Always ensure sufficient protection is provided for the objects and general areas around the faux bricks. Just as is the case with painting in general, you can’t always prevent plaster ending up where you don’t want it to be. And while you’re at it, you’ll want to sufficiently protect yourself with clothing and accessories you don’t mind throwing away.
Step 4: Apply the Plaster
Now comes the fun part – smothering the plaster all over the faux bricks. It’s a good idea to be rather on the generous side, ensuring that all cracks and holes are comprehensively filled and that the whole area is plastered in its entirety. Start from the corner of your choosing and gradually work your way to the opposite corner, not stopping until the whole thing is done.
Step 5: Layer Two
Give things plenty of time to dry and see how it looks. Even if things look decent enough with a single layer, it is always a good idea to add a generous and thorough second layer for good measure. Allow things to dry once again and see if there are any residual traces of the faux bricks remaining. If so, add another layer of plaster and keep going until you cannot see any of the faux bricks.
Step 6: Finishing
Once completely dry and covered, use some relatively fine sandpaper to create a smooth finish, before applying a couple of layers of quality primer and finishing things off with the paint of your choosing. By which point, your faux bricks will be no more than a delightfully hidden secret no one will ever know about other than you!
If unsure as to how to go about any interior painting project, we’d be delighted to hear from you. Get in touch with a member of the Homm CPS team for an obligation-free consultation.