Bubbling Paint: Dealing with the Ultimate Annoyance
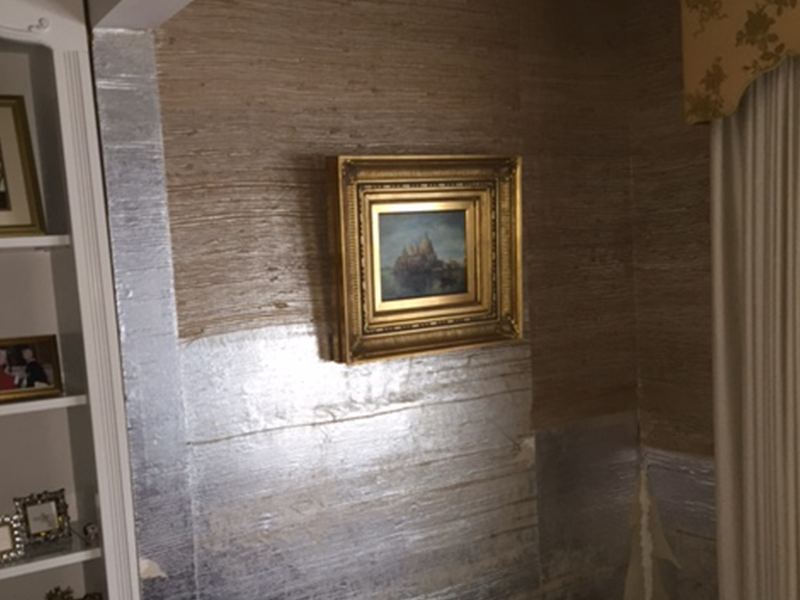
There’s nothing quite so satisfying as standing back and admiring your handiwork following a job well done. You have a good look from every angle, you soak up the effect in every light, and you’re genuinely proud of your interior paint job.
Unfortunately, this initial sense of pride can often be short-lived. After giving the paint a day or two to settle, you start noticing patchy imperfections. In this case, we’re talking about the kind of bubbling paintwork that leads to instant hair-tearing frustration.

Why Does Paint Bubble?
Bubbling following an interior or exterior paint job of any kind is always caused by one of the same things. Paint bubbles when moisture, heat, dirt or debris of some kind beneath the surface of the paint causes it to begin lifting away from the wall.
It happens in the form of bubbles because these tiny imperfections get to work on the equally tiny spots of the painted surface. As opposed to an entire wall in poor condition at the time of painting, which would result in major flaking, cracking and falling.
Where bubbling occurs, it’s because of one or more of the following:
- Residue on the surface – If there is anything whatsoever on the surface that could prevent the paint from adhering properly, it could result in bubbling or peeling.
- Moisture – Even the tiniest amount of residual moisture on a surface can make it impossible for the paint to cure and stick as it should.
- Paint Aeration – Try not to get carried away when mixing or shaking your paint, as to do so can result in air bubbles forming in the paint itself.
- Textured Surfaces – Using the wrong tools when painting textured can also lead to paint bubbles, so it’s essential to have the right equipment for the job.
- Not Priming – A lesson learned the hard way by many a DIYer, as failing to prime most surfaces before painting can be a recipe for disaster.
In a nutshell, you basically need to ensure that the surface being painted is in pristine condition, without a trace of moisture, dirt, grease, grime or anything else.
Otherwise, you could soon miss tearing a bunch of burdensome bubbles right in the face.
Can Blistered Paint be Repaired?
It can, but it’s not always as easy as it looks. The biggest issue when repairing patchy problems like these is ensuring that the subsequent result blends in seamlessly with its surroundings.
It’s therefore a case of removing the problematic paintwork as carefully as possible, before sanding the surface and the surrounding paintwork to make it as smooth and even as possible. You’ll then need to apply primer, followed by the required number of coats of paint.
As it can be tricky to pull off without leaving at least some telltale marks behind, it’s better to prevent your painted surfaces from bubbling in the first place.
How to Prevent Paint Bubbles
Prevention is always better than cure where problematic paintwork is involved. Particularly given how it’s actually quite straightforward to avoid issues like these in the first place.
As we always say, the key to successful painting lies almost entirely in adequate preparation. Where avoiding paint bubbles is concerned, here’s what you need to do to keep this particular problem at bay:
- Ensure your walls are as flawlessly clean as possible, using an appropriate degreaser to get rid of built-up residues. Though while doing so, be careful not to completely saturate the surface with liquid.
- Allow plenty of time to dry and do not even think about painting a surface that may still be damp. Remember that even a trace amount of moisture (perhaps even below the visible surface) could make your life a misery.
- When painting outdoors, keep an eye on the weather. Avoid outdoor painting when it is hot and/or humid, and be mindful of how long it takes exterior surfaces to dry fully after a downpour.
- Don’t make the mistake of attempting to rush the job. Remember that the more paint you smear onto the surface at a time, the higher the likelihood of issues like bubbling. Take your time, applying thin and even coats as carefully as possible.
- Last up, use the highest-quality primer you can find, which is designed specifically for the type of surface you intend to paint. Again, add primer slowly, carefully and evenly, following the manufacturer’s guidelines to the letter.
For more information on the services we provide or to discuss your requirements in more detail, contact a member of the team at Homm CPS today.
