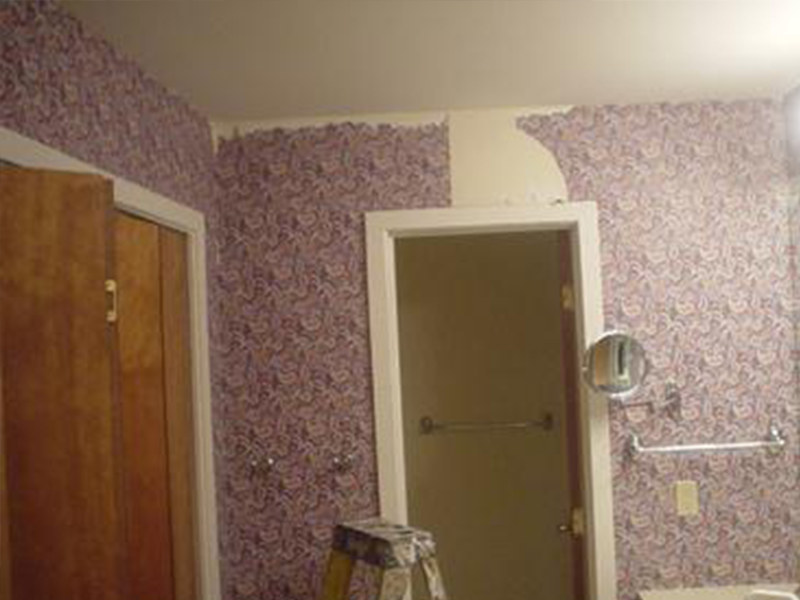
Are you looking to give your McLean home a fresh new look? One of the most effective ways to transform the interior of your home is by removing outdated or worn-out wallpaper. While wallpaper removal can be a daunting task, especially if you’ve never done it before, with the right techniques and tools, you can achieve professional-looking results without the need for costly renovations. Let’s explore some tried-and-tested tricks to wallpaper removal that will help you refresh the interior of your McLean home and create a space you’ll love to live in.

- Gather Your Supplies
Before you begin the wallpaper removal process, it’s essential to gather all the necessary supplies to ensure a smooth and efficient operation. Here’s what you’ll need:
- Wallpaper removal solution or mixture of hot water and vinegar
- Wallpaper scorer or perforating tool
- Plastic drop cloths or tarps to protect flooring and furniture
- Scraper or putty knife
- Sponge or spray bottle for applying the removal solution
- Bucket for mixing solution and holding tools
- Protective gloves and eyewear
Having these supplies on hand will make the wallpaper removal process much more manageable and help protect your McLean home’s surfaces and furnishings from damage.
- Prepare the Room
Before you start removing wallpaper, it’s essential to prepare the room to minimize mess and damage. Start by removing any furniture, wall hangings, or other items from the area you’ll be working in. Cover the floor with plastic drop cloths or tarps to protect it from water and adhesive residue.
Next, use painter’s tape to protect baseboards, trim, and any other surfaces you want to avoid damaging during the wallpaper removal process. Taking these steps to prepare the room will make the cleanup process much easier and help protect your McLean home’s interior from damage.
- Score the Wallpaper
Once the room is prepared, it’s time to start the wallpaper removal process. Begin by using a wallpaper scorer or perforating tool to create small holes in the wallpaper surface. This will allow the removal solution to penetrate the wallpaper more effectively, making it easier to remove.
Work in small sections, scoring the wallpaper in a crisscross pattern to ensure thorough coverage. Take care not to press too hard, as you don’t want to damage the underlying wall surface. Once the wallpaper has been scored, you’re ready to move on to the next step.
- Apply Removal Solution
After scoring the wallpaper, it’s time to apply the removal solution. You can use a commercial wallpaper removal solution or create your own mixture using hot water and vinegar. Fill a spray bottle or sponge with the solution and apply it generously to the wallpaper surface, making sure to saturate it thoroughly.
Allow the removal solution to penetrate the wallpaper for at least 15-20 minutes, or as directed on the product label. This will soften the adhesive and make it easier to remove the wallpaper from the wall surface.
- Remove the Wallpaper
Once the removal solution has had time to work its magic, it’s time to start removing the wallpaper. Use a scraper or putty knife to gently peel away the wallpaper from the wall surface, starting at the edges and working your way inward.
Take your time and work carefully to avoid damaging the underlying wall surface. If you encounter stubborn areas where the wallpaper won’t budge, you can reapply the removal solution and allow it to sit for a bit longer before attempting to remove the wallpaper again.
Continue working in small sections until all of the wallpaper has been removed from the wall surface. Be sure to dispose of the removed wallpaper properly, as it can create a mess if left lying around.
- Clean and Prepare the Walls
Once the wallpaper has been removed, it’s time to clean and prepare the walls for painting or applying new wallpaper. Use a damp sponge or cloth to wipe away any remaining adhesive residue from the wall surface, taking care not to damage the drywall underneath.
If necessary, you can use a mild detergent or wallpaper adhesive remover to help loosen stubborn residue. Once the walls are clean and dry, you’re ready to move on to the next step in the renovation process, whether it’s painting, wallpapering, or simply enjoying your refreshed space.
- Consider Professional Wallpaper Removal Services in McLean
While removing wallpaper can be a DIY-friendly project, some situations may require the expertise of a professional. If you encounter issues such as multiple layers of wallpaper, stubborn adhesive residue, or damage to the underlying wall surface, it may be worth enlisting the help of a professional wallpaper removal service in McLean.
Professional wallpaper removal experts have the experience, tools, and techniques needed to tackle even the most challenging wallpaper removal jobs, ensuring that your walls are left clean, smooth, and ready for whatever comes next. Additionally, hiring professionals can save you time and hassle, allowing you to focus on other aspects of your home renovation project.
In conclusion, while wallpaper removal may seem like a daunting task, with the right techniques and tools, you can achieve professional-looking results and refresh the interior of your McLean home. By following these tricks to wallpaper removal and taking the time to properly prepare the room, apply removal solution, and remove the wallpaper, you can create a space that feels fresh, clean, and inviting. Whether you’re planning to paint, wallpaper, or simply enjoy your newly refreshed walls, these tips will help you achieve the results you desire and create a home you’ll love to live in.
For more information on the services we provide or to discuss your requirements in more detail, contact a member of the team at Homm CPS today.
