Staining Your Decking Like a Pro

Look after your outdoor decking and it will look after you in a multitude of ways. Not only does decking provide a family with an outstanding exterior living space, but it can also increase the overall value of your property significantly. Indeed, a home can be entirely transformed with the installation of quality decking – whether or not it remains as such long-term is entirely up to you!
Why exactly? Well, quite simply because decking is exposed to quite a lot of punishment throughout the entire year. Both through regular use and the way in which it is exposed to the elements, you cannot realistically expect it to look after itself long-term. Instead, it is largely inevitable that unless your decking is well maintained, it will succumb soon enough. And when it does, you could be looking at anything from fading beauty to broken materials and perhaps even hideously dangerous surfaces.

So the message is relatively clear – you are going to need to periodically seal and stain your decking. When it comes to going about the job, there are basically two options available to you – one being to call in the professionals, the other being to deal with it yourself. DIY types never fail to choose the latter, which can be an effective and rewarding experience if gone about correctly. So for this post, we thought we would focus on that – getting your decking protected the right way.
Tools & Materials Needed
Assuming you don’t already have the bits and pieces required, you will find yourself in need of the following in order to get the job done:
- Stiff-bristle broom
- Paint roller and tray
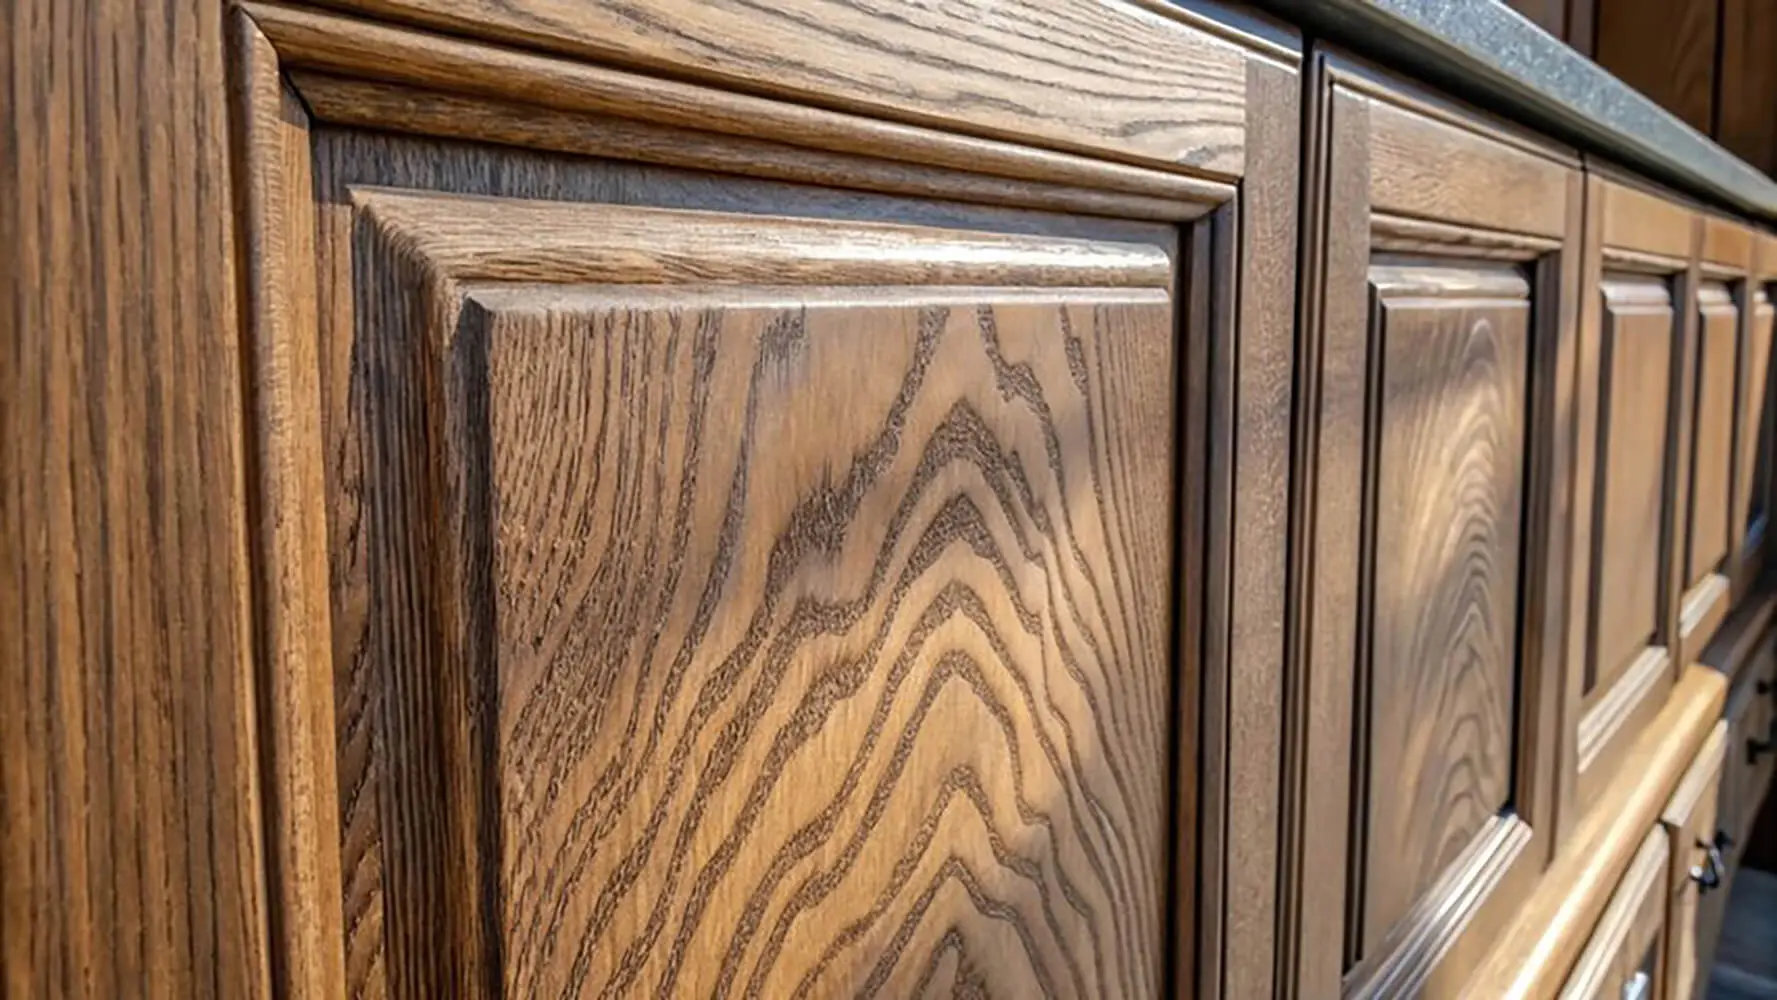
- Deck stain and/or sealant of choice
- Pump sprayer
- Garden hose with high-pressure nozzle
- 80-grit sandpaper or sponge
- Plastic sheet or drop cloth
- 2–2 1/2-inch paint brush
- Deck cleaner
- Protective gloves
- Safety mask
Step by Step Guide
Once it’s time to get busy, work in accordance with the following steps and you will probably find it difficult to go wrong:
- First of all, you are going to have to make sure that the area you intend to stain is as clean as possible and free of all obstructions. This means taking away any furniture and giving everything a good sweep with a stiff brush. You should also take the opportunity while doing so to take note of any damage that could do with being addressed, before going any further. If you come across any splintered or damaged boards, using 80-grit sandpaper should be sufficient to deal with them.
- Use a quality deck cleaning product in accordance with the instructions to give the entire area the best possible clean. More often than not, this will mean spraying it onto the decking, leaving it to get to work for as long as specified and then rinsing it away using a hosepipe or pressure washer.
- Given the fact that your decking will now be comprehensively wet, you are going to need to give it plenty of time to dry. Even if the weather is particularly good at the time, you should still think about leaving it for a minimum of 48 hours, or however long it specifies in the instructions that came with the cleaner. For this reason, it is of course advisable to only ever get started with this kind of process when and where you know the weather is going to be on your side.
- To what extent the sealer and/or stain needs to be prepared before use will vary in accordance with the specific products you have chosen. In some instances, it will be necessary to mix the products you plan to use, before getting started. Once again, refer to the manufacturer’s instructions and follow them to the letter.
- When the time comes to begin adding the products to the surface of the wood, it is a good idea to start out in one small place and focus on one small area at a time. This way, you will be able to determine whether or not the stain has the desired effect, before moving on. Be extremely careful to avoid pools and puddles, by being frugal with the coats you apply. Remember: it is far easier to add additional coats than to have to wait for it all to dry, remove anything you’re not happy with and start again.
- For obvious reasons, you need to be very strategic when it comes to where you start and where you plan to finish. Not only do you not want to risk painting yourself into a corner, but it’s worth bearing in mind that staining often features a wide variety of complexities that could be worth tackling first of all.
- Even if you don’t think it is necessary, it is still a good idea to give everything plenty of time to dry, before applying a second coat. It’s important to remember that what you are doing here is providing protection for your wood, meaning there is really never any harm in adding an extra layer of protection.
- Last but not least, however long it specifies you should leave the stain and/or sealer to dry, we strongly advise giving it a little longer. The reason being that the atmospheric conditions during day and night alike have an impact on how quickly and completely it dries. So when it comes to once again putting your furniture in place and enjoying the fruits of your labor, it’s always better to be safe than sorry!