Sandpaper: Getting to Grips with the Nitty Gritty
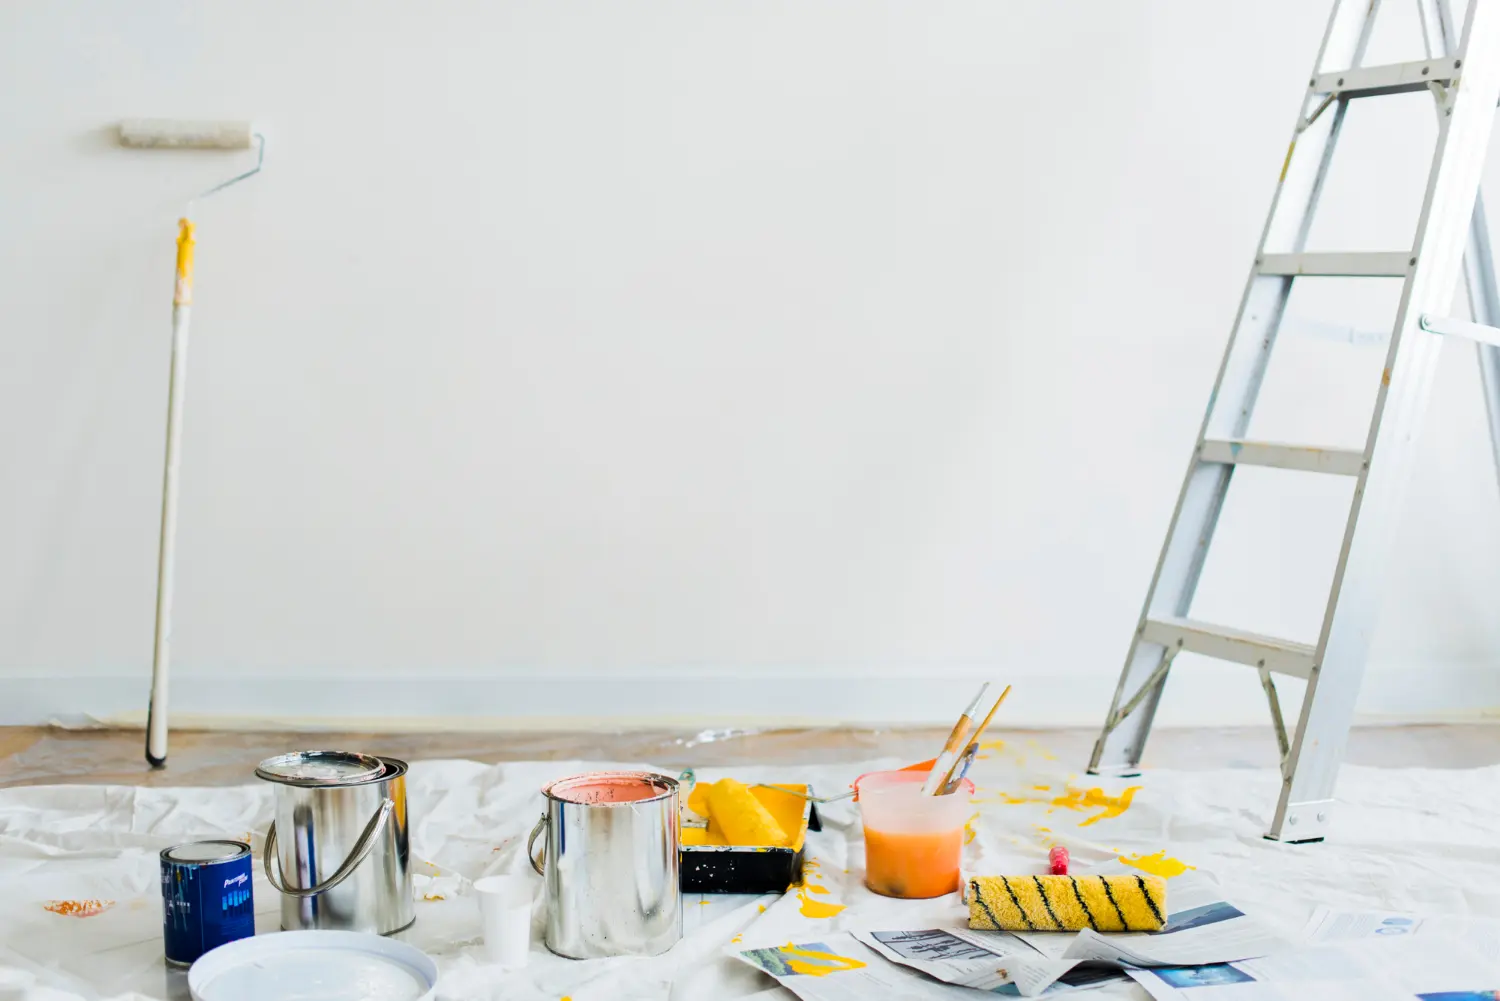
These days, more homeowners than ever before are making the decision to go ahead with their own painting and home improvement projects. Better tools, premium paints and lower costs across the spectrum are encouraging those with a taste for the DIY lifestyle to get busy with the brush at home. And of course, the fact that there’s an endless archive of helpful resources and instructional guides online makes it even easier to try your hand at pretty much anything.
If you’ve ever looked up an online guide in relation to pretty much any painting project whatsoever, you’ll now understand the importance of surface preparation. Contrary to popular belief, smooth surfaces do not make the best of bedfellows with the vast majority of paints. Instead, you are generally advised to ‘rough-up’ the surfaces to be painted at least to a moderate extent, in order to encourage the paint to go on smoother and stick better.

Which in turn means arming yourself with the required tools to prepare the surfaces prior to painting them, which in its own right has a habit of being a subject of widespread confusion.
Ladies and gentlemen – welcome to the exciting world of sandpaper grit!
Numbers Are On the Back
If you want to know exactly how rough the sandpaper is, you’ll need to check out the numbers on the back. You’ll find a number somewhere between 24 and 1,000 to indicate how rough or smooth the paper is. For general DIY purposes however, you’ll probably never use those at the extreme ends of the scale.
What the Numbers Mean
In terms of what the numbers actually mean, what you are looking at is a rough estimate of how many grains (bits of grit) are present on every square inch of the paper. Not in terms of actual numbers, but basically whether there are more or less grains on the sheet.
Numbers in Reverse
While you’d logically expect the lowest numbers to be the smoothest sheets and the highest to be the roughest, it’s actually the other way around. As such, you’ll need to bear in mind that the smoothest sandpaper out there is the paper you find with the highest number, gradually getting rougher as the number decreases. As already mentioned though, you probably won’t find any practical DIY purposes for the more extreme grits at both ends of the scale.
Why Are They Different?
So the obvious question is that of why so many different types of sandpaper exist in the first place. As for the answer…well, it all comes down to exactly what it is you intend to sand, how fast you want to get the job done and what risk there is of damaging the material. As such, you need to think carefully about exactly which sandpaper is best-suited to the intended purpose at the time.
Grit Ranges
The good news being that while all this comes across as somewhat complicated, it’s likely that you will only ever have to consider a very limited range of sandpaper types for typical DIY painting projects. So rather than trying to learn them all, simply make your choice in accordance with the following everyday grit range:
- #50-#30: Very Coarse Grit – This is the kind of sandpaper that will tear through interior and exterior paint in a jiffy. If you are looking to get the job done quickly and don’t mind potentially damaging the material underneath, this is the grit range for you. However, if you’d rather not damage the material itself, it could be too coarse.
- #80-#60: Medium Grit – This is considered more ‘universal’ sandpaper that is suitable for most purposes across the board. While it certainly does not get the job done quite as quickly as the above grit range, it’s very difficult to do any real damage to the materials below the paint. It’s always good to have some of the stuff lying around, just in case you need it.
- #180-#100: Fine – Last up, this is the kind of sandpaper you are not going to have a great deal of luck with, should you try using it to strip paint in the first place. Instead, this is the perfect sandpaper to use when the paint has been removed, as a means by which to gently ‘roughen’ the surface prior to painting. Once again, it is relatively difficult to go wrong with this stuff and damage the materials to any noticeable extent.
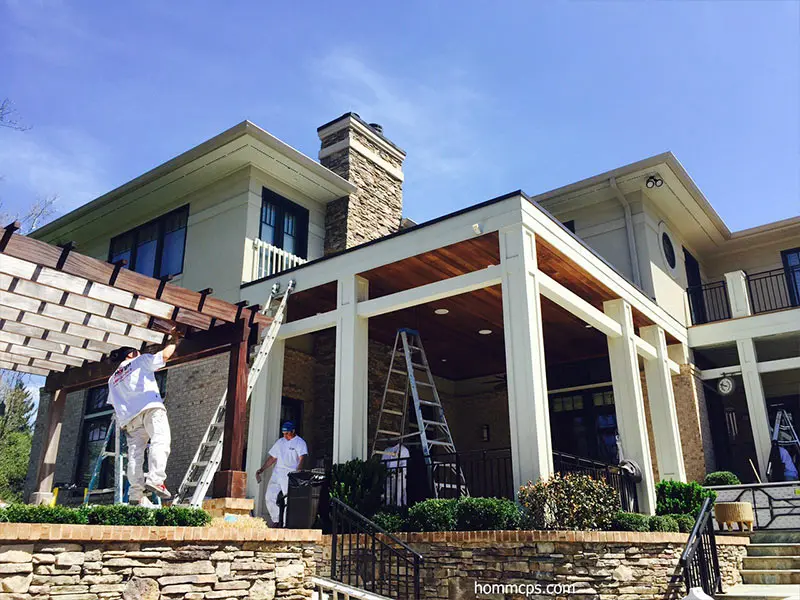
For more information on paint stripping and surface preparation in general, get in touch with the Homm CPS customer service team.