How to Paint Kitchen Cabinets

On the surface, painting kitchen cabinets comes across as a relatively easy job. So why is it that the vast majority of DIY-types never seem to be able to replicate the results of the experts?
Well, the simple answer is that it all comes down to a combination of the paint chosen for the job and the technique used to apply it to the cabinets. If your kitchen is already blessed with outstanding quality cabinets, it really doesn’t make sense to even consider replacing them when their current paint job begins to show its age. Instead, it’s far more cost effective to get to work with a DIY paint job – just as long as you work in accordance with a few tips and guidelines from the pros.

Dive into the job without really knowing what you are doing and you can only expect to come out with amateurish results. By contrast, bear the following four tips in mind throughout the process and you might just nail that elusive secret that separates amateur hour from genuinely outstanding, professional quality results:
1 – Wood Is the Best Material to Paint
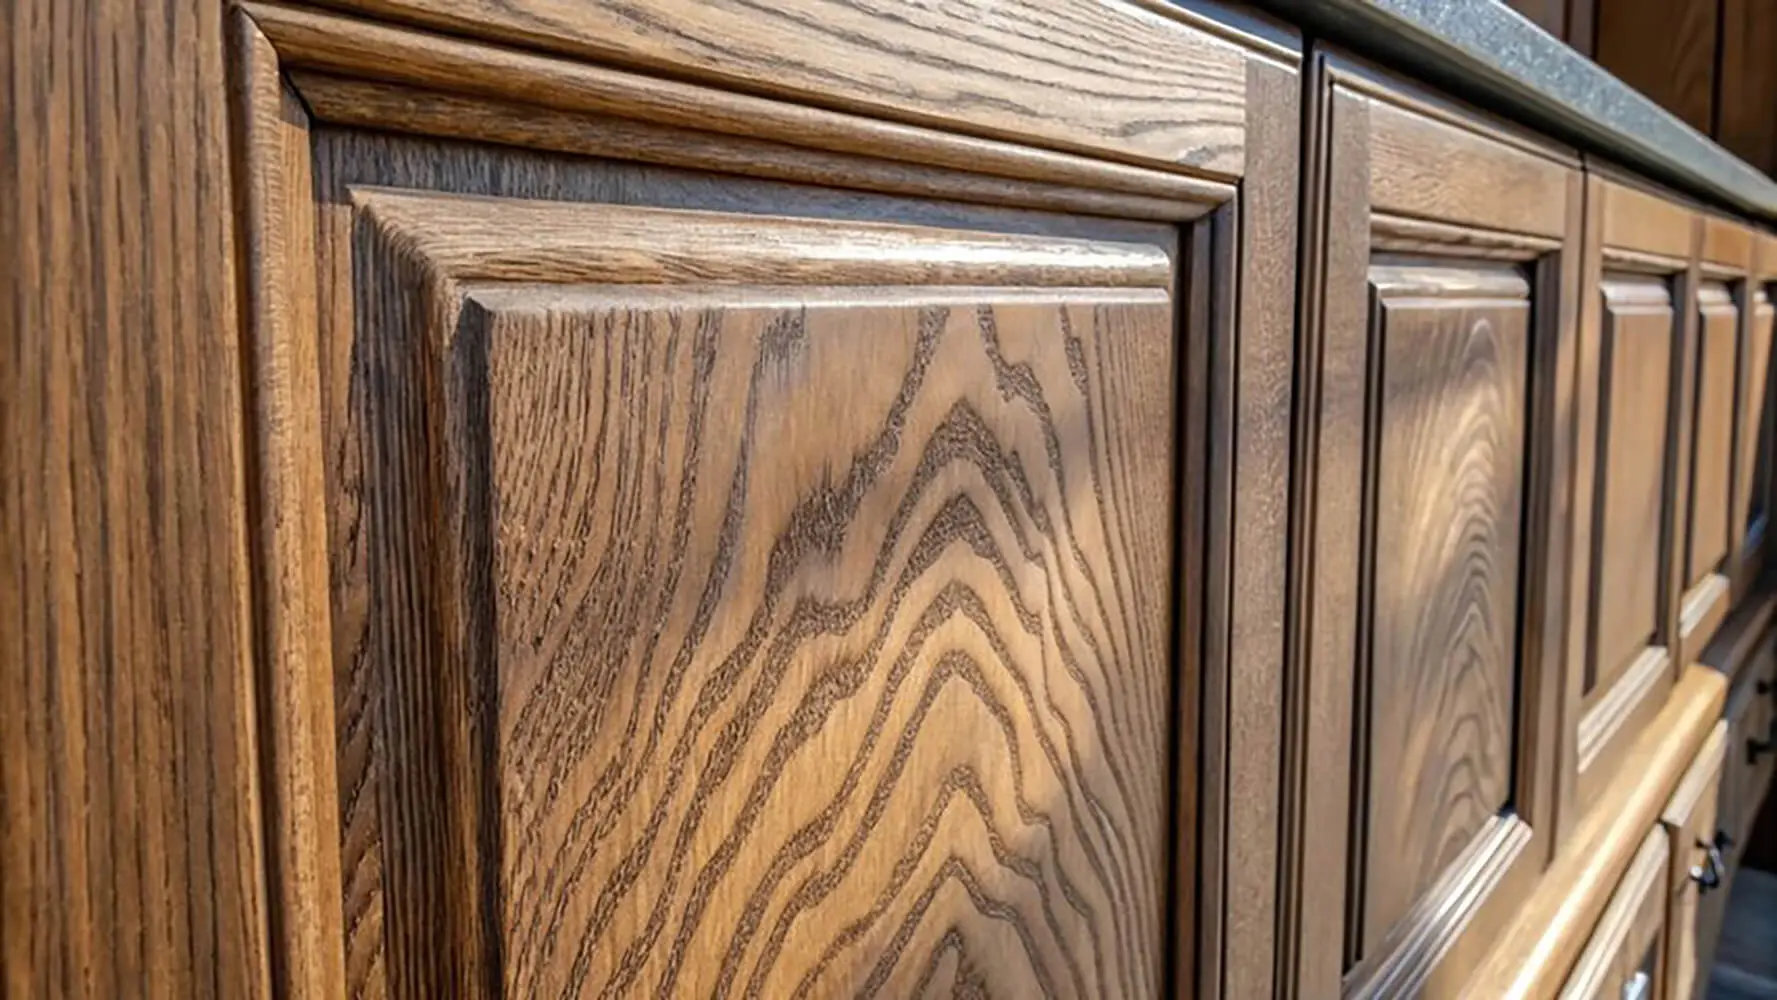
First and foremost, it’s a good idea to take into account what exactly it is that your kitchen cupboards are made of. They may look as if they are made of real wood, but upon closer inspection you may find that they were actually manufactured using laminates. The problem with laminate kitchen cupboards being that while you certainly can paint them, the result won’t look quite as fantastic and nor will it last as long.
If on the other hand you have real wood kitchen cupboards – stained, painted or unfinished – you have an excellent chance of producing high quality results. Compressed wood and MDF also work a treat – pretty much any kind of material you can take to with a bit of sandpaper, in order to ensure that the paint sticks as it should.
Do note however that any existing glossy finishes or stained wood will require de-glossing before you can get started with the painting. In such cases, go for a quality liquid sander which can be applied using a cloth.
2 – Prepping Is Everything
As is the case with most DIY duties, the preparation stage is just as important as the rest of the painting process. The job begins by comprehensively emptying your cabinets and giving them perhaps the most intensive clean you’ve ever given them. You need to make sure that every trace of dirt and grease is removed, in order to ensure the paint and primer stick properly. Take every handle and knob off, making sure to keep notes of what goes where, if necessary.
If it’s easy enough to take your cupboards off the wall entirely, this could make the painting process easier. Take a roll of suitable tape and get to work taking off anything that you do not intend to paint, including the hinges and where the cupboards connect with the walls/countertops. Roughing up the surface of your cupboards with high quality sandpaper is important – as is stripping existing paint if there are so many layers on it that the wood itself is completely buried.
3 – Don’t Forget the Primer
Contrary to popular belief, the primer is not optional. In addition, products that claim to combine paint and primer all in one do not necessarily do a great job. Choose a high quality oil primer if available and follow the application instructions to the letter. If your cabinets are currently dark and you are looking to paint them to lighter color, you might want to think about tinting your primer in accordance with your chosen color. This is something your paint store will usually do for you upon request.
4 – Buy the Highest Quality Paint
Last but not least, if you’re out to produce the most outstanding quality results, you have no choice but to opt for the most outstanding quality paint. It might cost considerably more than the cheapest paint on the market, but this is more often than not for a very good reason. In addition, try to remember that you will definitely be looking at applying two coats of paint, in order for your kitchen cabinets to look their best.
The very best results can usually be achieved by using a 2- to 2 1/2-inch fine bristle brush, along with semi-gloss, gloss or satin paint. Given the fact that your kitchen cabinets will be subjected to rather heavy use and abuse on a daily basis, harder finishes are always better choices.
Now, you are ready for your kitchen cabinet painting DIY project. Good luck!