How to Spruce-Up a Wooden Picnic Table
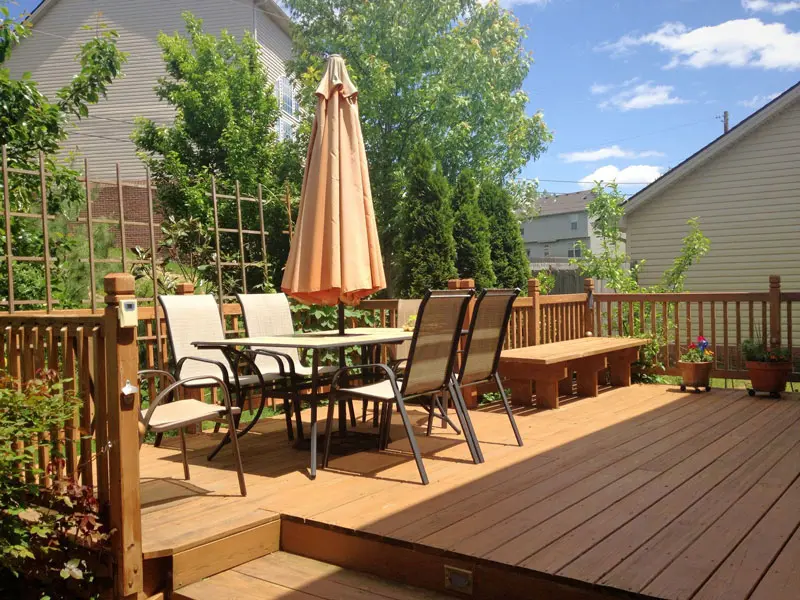
A wooden picnic table makes a great addition to any garden. Not to mention, an incredibly cost-effective alternative to more expensive garden furniture. Brilliant for making the most of the warmer months of the year, a good picnic table can go on serving you and your family proudly for decades on end.
Unfortunately, far too many households allow their outdoor furniture to fall into disrepair when the weather takes a turn for the worse. When the spring makes its first appearance, millions take to the outdoors to spruce up their furniture, in anticipation of the pleasant weather to come. Despite the fact that it’s actually at the opposite end of the year you should be focusing on protecting your outdoor essentials.

Hence, we strongly recommend making now the time to show your wooden picnic table a little TLC. Do so and there’s every chance it will still be in great condition come spring.
The good news being that with just a few basic essentials, sprucing up a wooden picnic table is surprisingly easy. Just be sure to follow these simple steps and you’ll be looking at a pro-quality result at a comprehensively affordable price:
Step 1 – Apply a Chemical Stripper
First up, you’re going to need to get rid of whatever coating is already on the surface of your wooden picnic table. Chemical strippers are the quickest and easiest way of getting the job done, but it’s important to focus on your own health and safety. Some of the more powerful chemical strippers really can do a number on your lungs and your skin, so ensure you work in a well-ventilated space with the PPE you need to protect yourself.
Apply the stripper in accordance with the manufacturer’s instructions, doing your best to avoid getting it on anything else in the vicinity. Always choose a quality chemical stripper to make the process as safe and simple as possible.
Step 2 – Remove the Residual Finish
Once the chemical stripper gets to work, it should be relatively easy to scrape the residual coating off using a paint scraper or putty knife. Take your time, ensuring you have given the chemical stripper sufficient time to penetrate and start the job for you. Again, be sure to proceed in accordance with the manufacturer’s guidelines.
Step 3 – Clean the Surface
The next step is to ensure that you get rid of every trace of chemical stripper that may remain on the surface. If any of the chemical is left behind, you can probably figure out what’s going to happen when you apply the next protective coating. If you struggle to get the stripper off using a hose and sponge, it may be necessary to grab some turpentine to get the job done properly. Once again, you’ll want to pay attention to the manufacturer’s instructions during this stage.
Step 4 – Sand the Table
After giving your picnic table as much time as it needs to dry, you can then grab yourself some sandpaper and go about roughing-up the entire surface. You can use a power-sander if you want to speed things up, but remember you’re simply looking to create a slightly rough surface – not go to town on your table. After you finish with the sandpaper, give the whole thing a good clean to get rid of as much dust as possible.
Step 5 – Carry Out Repairs
If there are any holes or uneven areas you’ve been meaning to tackle, now’s the time to do exactly that. Grab yourself some quality wood filler and use it to carry out any minor repairs that could do with being addressed. After applying wood filler, you’ll once again want to grab yourself a sheet of sandpaper and rough it up a little.
Step 6 – Apply Stain
It’s then a case of grabbing whichever stain you prefer and applying it carefully, in accordance with the manufacturer’s instructions. It’s entirely likely you will need to apply more than one layer, so take your time and give each respective layer plenty of time to dry.
Step 7 – Apply Sealer
Last but not least, it’s also a good idea to add a further layer of protection to your picnic table with a liberal dose of quality sealer. This will help produce outstanding finish, while at the same time protecting your table from whatever the elements decide to throw at it.
For more information on any aspect of indoor or outdoor painting, contact a member of the team at Homm CPS today.