How to Patch a Hole In the Wall (and Make It Invisible)
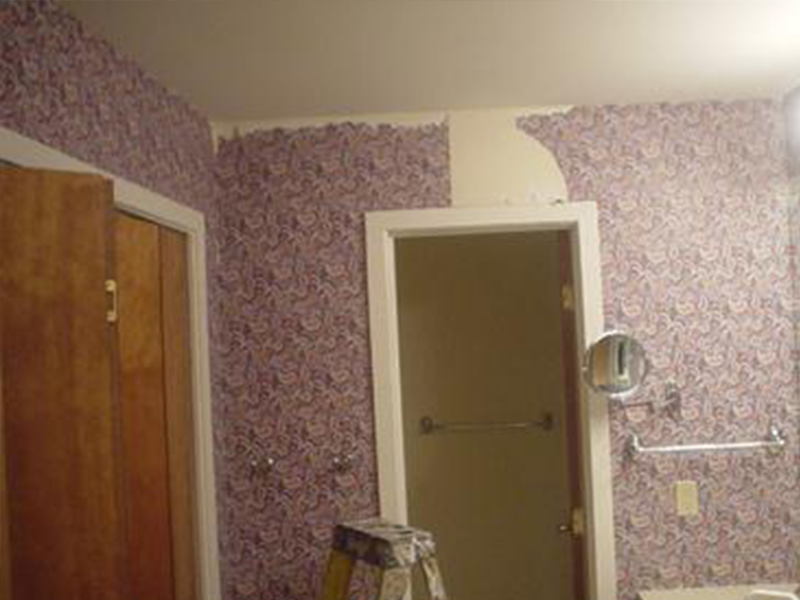
Set about an interior painting project and you are almost guaranteed to encounter imperfections along the way. In fact, it’s not until you begin examining your walls up close that you realize just how far from perfect some of them have become.
Preparation holds the key to interior painting of a superior standard. If you want to get the job unlike the pros, then you need to approach it like to pros. Something that begins with ensuring the services you intend to paint or in the best possible condition, before even thinking about grabbing a paintbrush.
Coming across the occasional hole or dent in drywall is anything but uncommon. It’s a fairly robust material, that is certainly not impervious to the bashes and bangs of busy family life. The tendency is often to ignore imperfections like these, but doing so can really take the shine of the final result.

Plus, the fact that they are so quick and easy to repair means you may as well do just that.
The Tools You Will Need
In order to fix a hole in your drywall before painting it, you’ll need to arm yourself with a putty knife, some sandpaper, some plaster or filler, a dust mask, a hole patch, a utility knife and a wet sponge. All of these can be picked up for next to nothing at pretty much any basic hardware store.
Fixing Small Holes in Drywall
By small, we mean anything with a diameter of less than 6 inches. The smaller the hole, the easier it is to patch. If it is only about the size of your fingertip, you can probably just stuff some filler into the hole, and scrape it away.
But if it is slightly larger than this (but still smaller than 6 inches), here’s what you need to do:
Step One: Remove Debris and Sand
Get rid of as much residual dirt and debris as you can from in and around the whole, before standing around the edges to smooth off rough or sharp protrusions. You can then take your drywall patch kit, and place the wall patch over the whole accordingly.
Step Two: Smooth the Edges
Follow the manufacturer’s guidelines, which will usually involve using a wet sponge to press the wall patch in place. After which, plaster or spackle can be applied around the whole with a putty knife, and smoothed out around the edges.
Step Three: Sand to a Flush Finish
Give the plaster or spackle plenty of time to dry, before taking to it with some medium-grit sandpaper. Your goal at this stage is to sand it down to a flush finish so that it does not protrude from the wall.
Step Four: Prime and Paint
Don’t worry too much if the surface in general is a little rough, just as long as it is even. Remove all dust and debris from the area, before applying at least one coat of high-quality primer. When you are satisfied that the surface is fully primed and ready to paint, carefully and slowly add a couple of coats of paint to the fixed hole and the surrounding area.
Fixing Larger Holes in Drywall
Meanwhile, holes of more than 6 inches in diameter call for a somewhat different approach. Wall patches are no good for holes of this size, so you will need to arm yourself with a couple of small pieces of lumbar, and a piece of drywall of a similar size to the hole.
Step One: Cut out the Hole
The first step is to take a sharp knife or saw and cut out the hole to create a smooth and even square shape. Sand around the edges as before, with the aim of getting them as smooth and even as possible.
Step Two: Screw in lumbar
Take two 1×3 pieces of lumbar and screw one into the wall on each side of the hole. These will subsequently be used to hold the piece of drywall in place.
Step Three: Secure the Drywall
Cut a small section of the drywall as close to the size of the hole as you can, and use drywall screws to attach it to the lumbar. Give everything a good clean and smooth any rough edges.
Step Four: Finish with Compound
Last up, you can now add the required quantity of compound all around the edges of the drywall, before giving it plenty of time to dry. Sand the dried compound to remove unevenness, before applying another coat, and repeating the process again with at least one for the out. Sand, dust and ensure you are happy with the evenness of the surface, then proceed to priming and painting.
For more information on the services we provide or to discuss your requirements in more detail, contact a member of the team at Homm CPS today.
