Disappointing DIY Paint Job? Here’s What Probably Went Wrong
While some get a real kick out of exterior home painting, for others it’s the chore to end all chores. Admittedly, the latter category has considerably more members than the former. Nevertheless, exterior home painting is the kind of thing you can’t realistically avoid. That is, unless you don’t mind the prospect of your home falling into disrepair.
Regardless of whether you like, love or loathe exterior home painting, you want a paint job that lasts. Ensuring things are done properly saves time, money and effort in huge quantities – not to mention makes your property look fantastic.
So assuming you’ve had a go at exterior painting and aren’t exactly delighted with the results, what went wrong? You thought you were making all the right moves, but came out with an outright failure…why?

Well, there might be hundreds of possible reasons, but chances are it comes down to one of the following common examples:
-
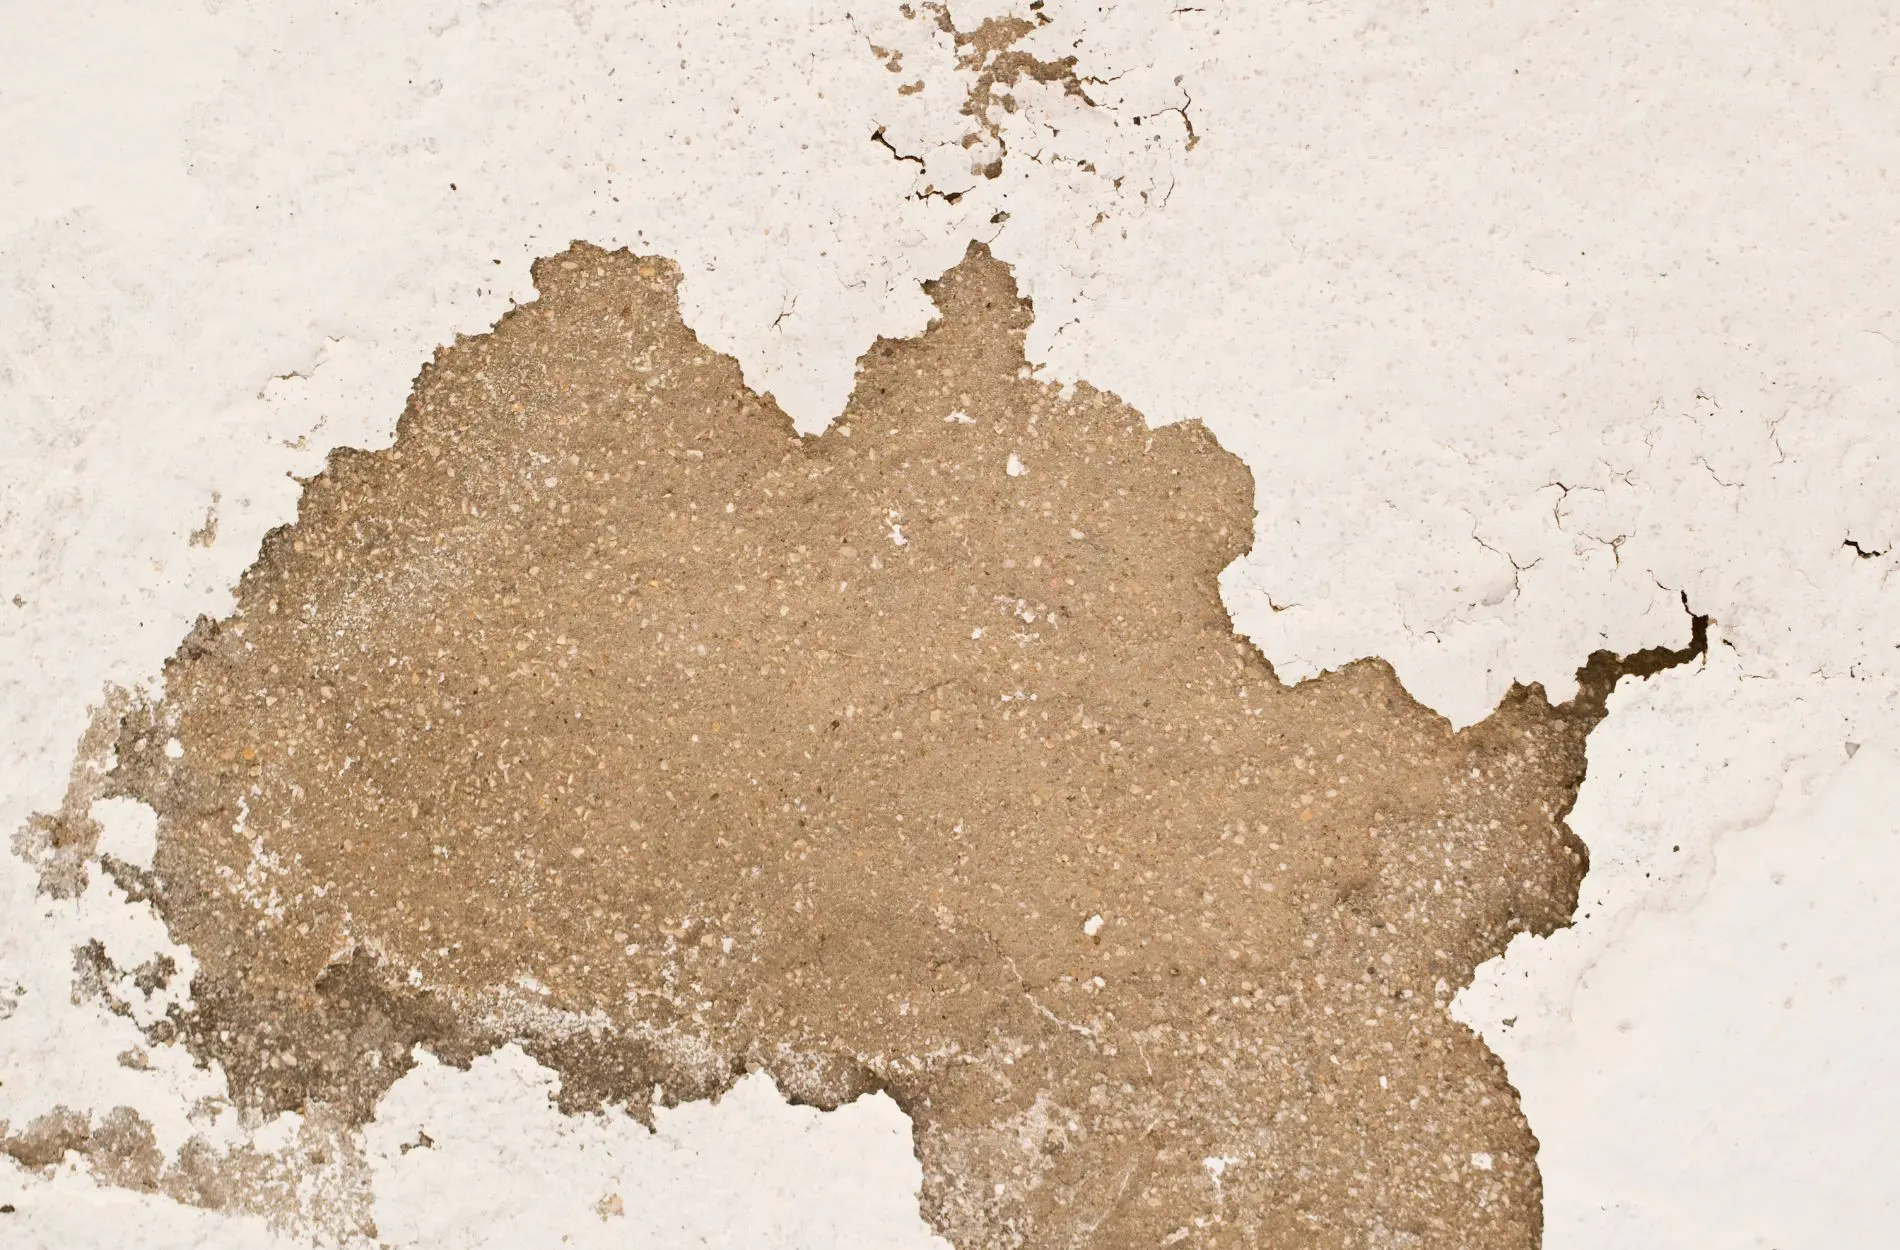
The Wood Was Wet
First up, there is a difference between waiting until the wood feels dry and ensuring it is 100% immaculately dry, before getting started. Rather than allowing things to dry out for just 24 hours or so, wood that has been recently saturated can often need several days, perhaps even a week to dry out fully. If there is even a trace of moisture left behind, you are going to struggle from start to finish.
-
Unfinished Siding Exposed to Sunlight
It’s important to bear in mind that when unfinished siding is exposed to strong and direct sunlight, it can quickly and significantly degrade the surface of the wood. Once this happens, it is not going to hold onto the paint you apply as effectively as undamaged wood. If there is any exposed unfinished wood that has been left exposed for any more than a couple of weeks, you might want to think of tackling it with sandpaper to remove the degradation, before going ahead with the painting.
-
The Temperature Was Too Cold
Another common mistake made by those choosing the DIY approach is either starting too early in the morning or at a time of year when it is simply too cold. If you are using latex paint, the temperature should be at least 50° F. If you are using oil-based paint, it needs to be around 40° F or higher. Bear in mind that the same temperatures should be maintained for at least the first 24 hours after the paint is applied, in order to avoid substandard results.
-
The Wood Was Too Hot
Likewise, if the temperature at the time is anywhere above 90° F, you should probably wait until things cool down a little. Once again, it’s important to be conscious of not only the temperature at the time, but also the temperature during those critical first 24 hours. One of the best ways of going about home painting when the weather is warm is to ‘follow the shade’ around your home’s exterior. Whichever surface is in the shade at the time, this is the surface to focus on.
-
The Weather Was Too Humid
Just as is the case with temperatures, it’s important to keep an eye on humidity when painting the exterior of your home. The simple fact of the matter is that the vast majority of paints do not cope particularly well with excessive moisture. Not only is applying the paint in the first place difficult, but paint needs to expel its water content through evaporation in order to dry. If there is already too much moisture in the surrounding air, it is unable to do this and the result will suffer.
-
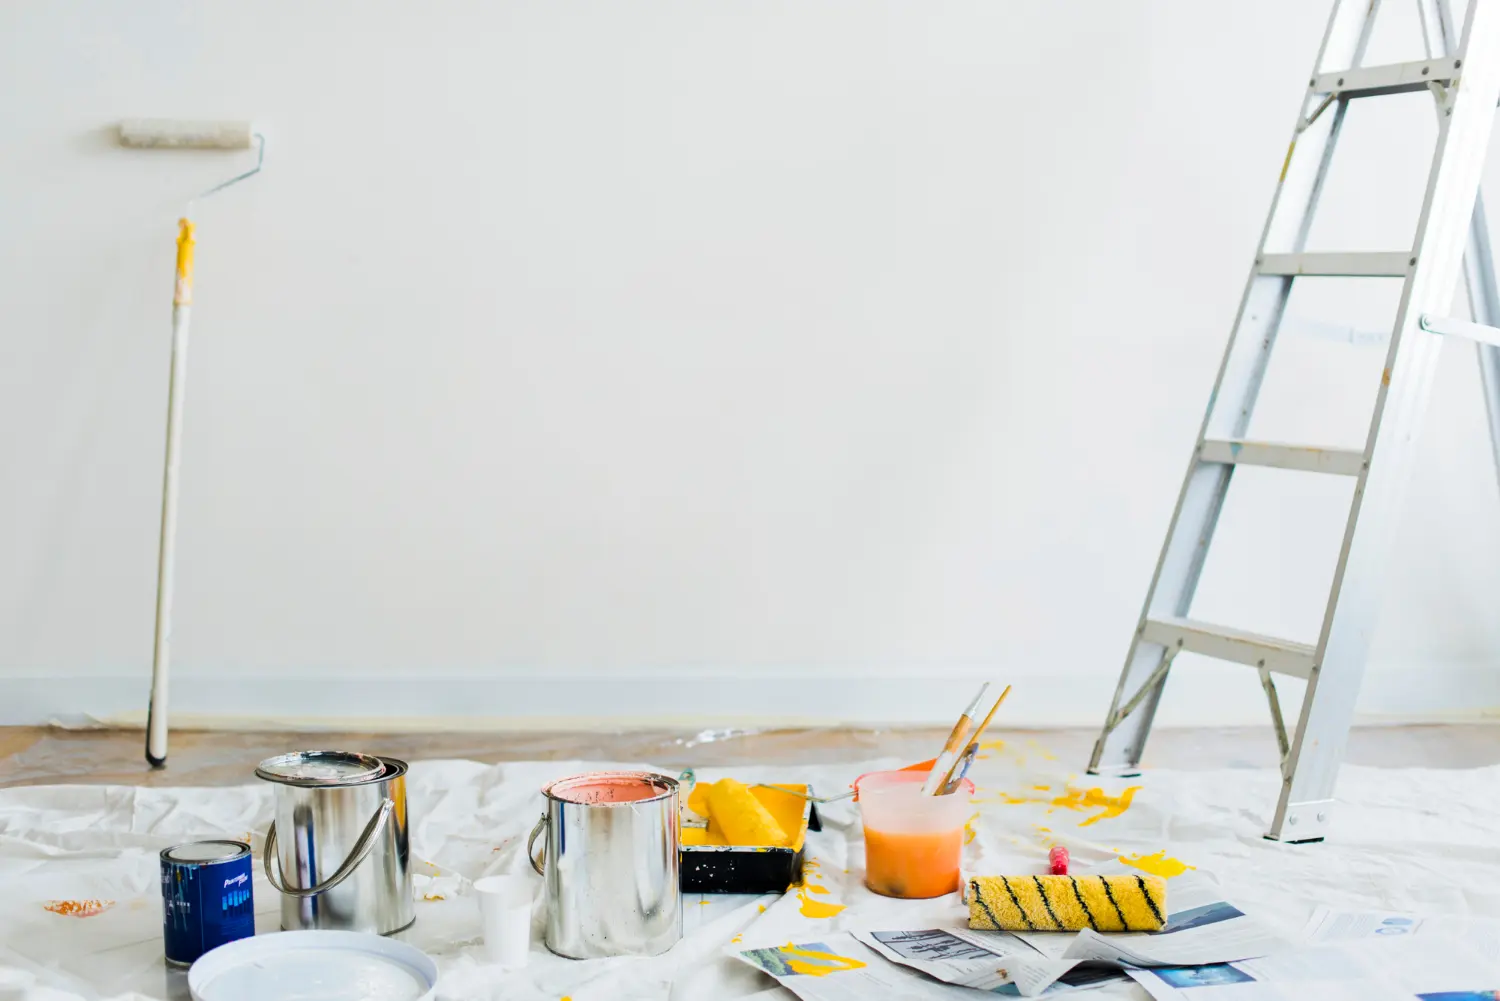
Substandard Tools
Whichever approach you choose to apply the paint, you need to be aware of the importance of quality. Just because there are six-dozen paint brushes that all look identical does not mean that there are not huge differences from one to the next. The same also goes for rollers, paint sprayers and so on – the quality of the tools you use will be reflected in the results you produce.
-
Low-grade Paint
The same also goes for the paint you select, though to an even greater extent. The reason being that if you arm yourself with substandard paint, there is absolutely nothing you can do to prevent a substandard finish. Even if you invest tirelessly in the project and use the most outstanding equipment the market has to offer, or are still setting yourself up for a big disappointment.
-
Poor Preparation
It’s a point we’ve covered time and time again, but one that nonetheless bears repeating. Preparation contributes at least 75% of what you can expect from the final finish. Which means that if you do not prepare sufficiently and with enough attention to detail, you’re already on a downward trajectory.
-
Rushing the Job
Likewise, if you want the exterior of your home to look polished and professional, you cannot expect to get things done in a short amount of time. There’s a reason professional painting services usually bring full teams of pro-painters along to get the job done. That being, it’s long and hard work!
-
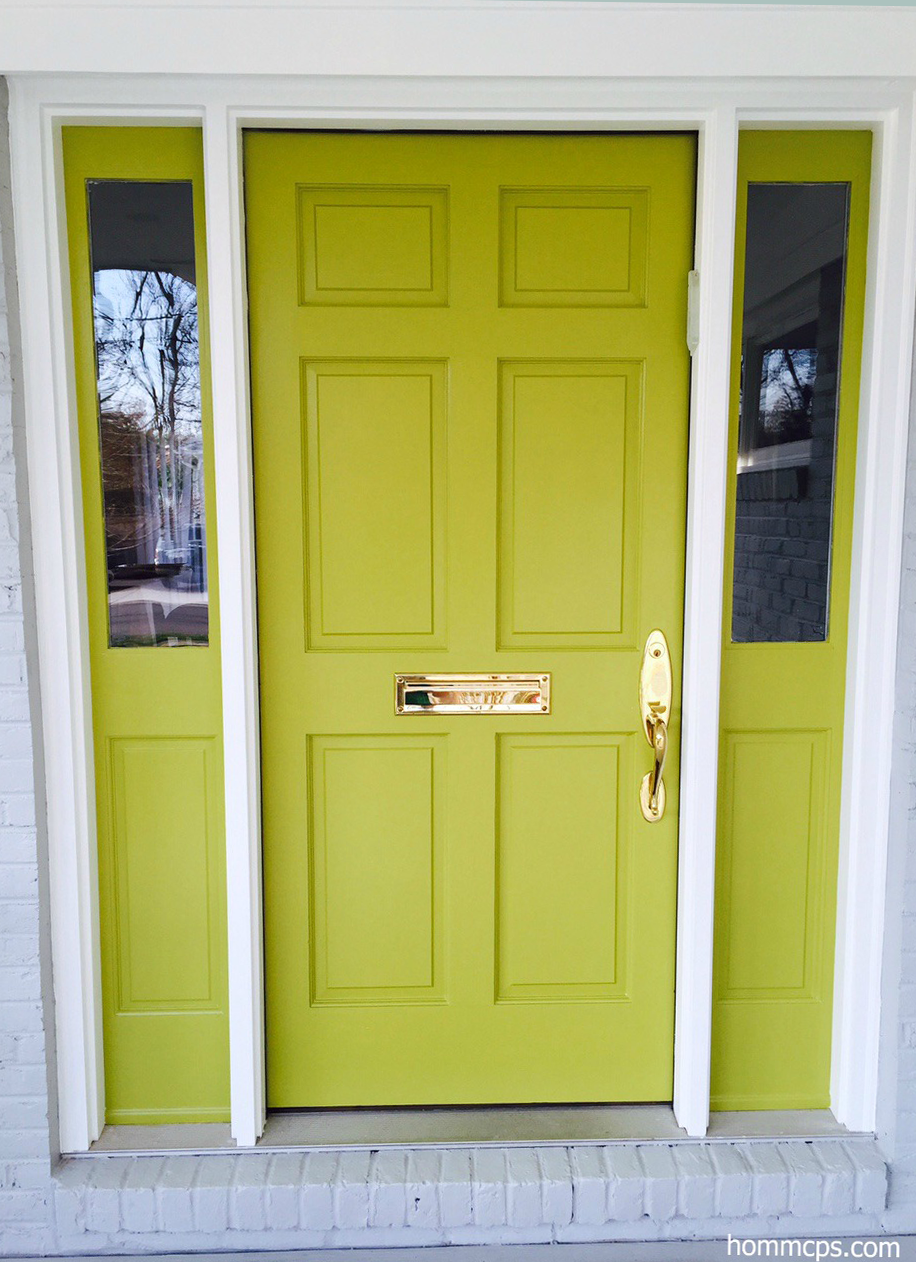
The Wrong Paint Type
Last but not least, always give extremely careful consideration to not only the color of the paint you use, but also the type of paint you choose. Depending on what you want to achieve, you could be better off with a matte finish, semi-gloss and so on. Simply choosing blindly having fallen in love with the color alone is always a recipe for disaster.